
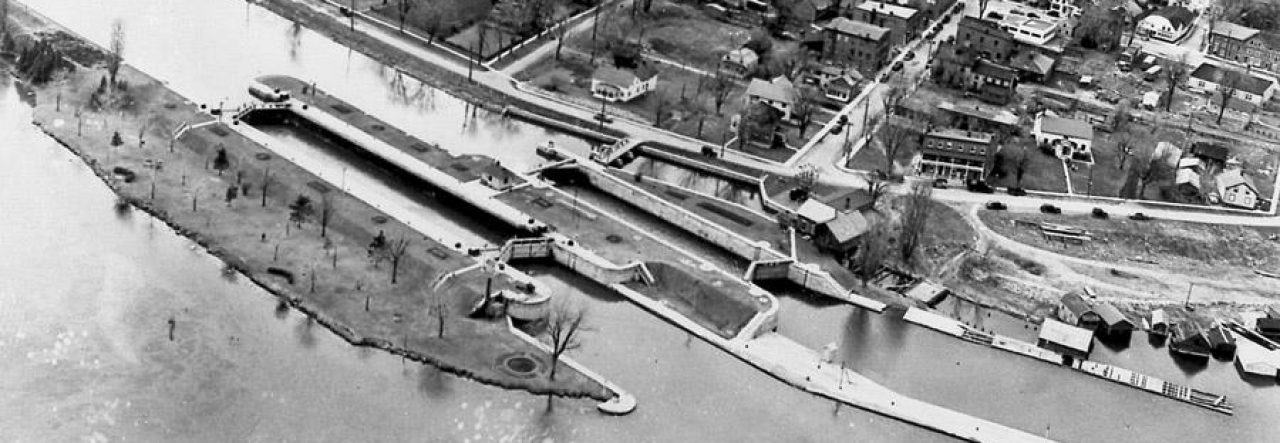
I have already written here about using river depth when aiming at a specific arrival spot at the locks. Because there’s too much to see at one go, you need to plan your route.
The most important detail in that post is to note the depth of the canal road as you cross it at entry.
Now I’m including more information on river bottom and debris changes as your depth changes.
You’ll always have bass drifting with you – they’re very friendly – but when you get to the locks, especially the HE Plant and the Rapide Plat Lock, the bass magically turn into walleyes… everywhere. In fact, if you suddenly see walleyes, you know you’re very close to the structures.
The Sluice Gates of the Hydroelectric Plant
To ensure that you’re pulled by the current toward the HE Plant, you should drift at no more than “road+12”, which is generally around 22 feet, especially in the latter part of the drift.
You’ll see a few clumps of low weeds lying flat in the current plus small to medium boulders on the incline to your left.
As you get closer, you may wish to move up to “road+8” (17-18) feet so that you can catch the end of the extended north wall of the HE Plant… Sadly, I had an air bubble stuck to my lens for this entire dive – in 2014 – but it remains one of my clearest images of the wall’s stepped end.
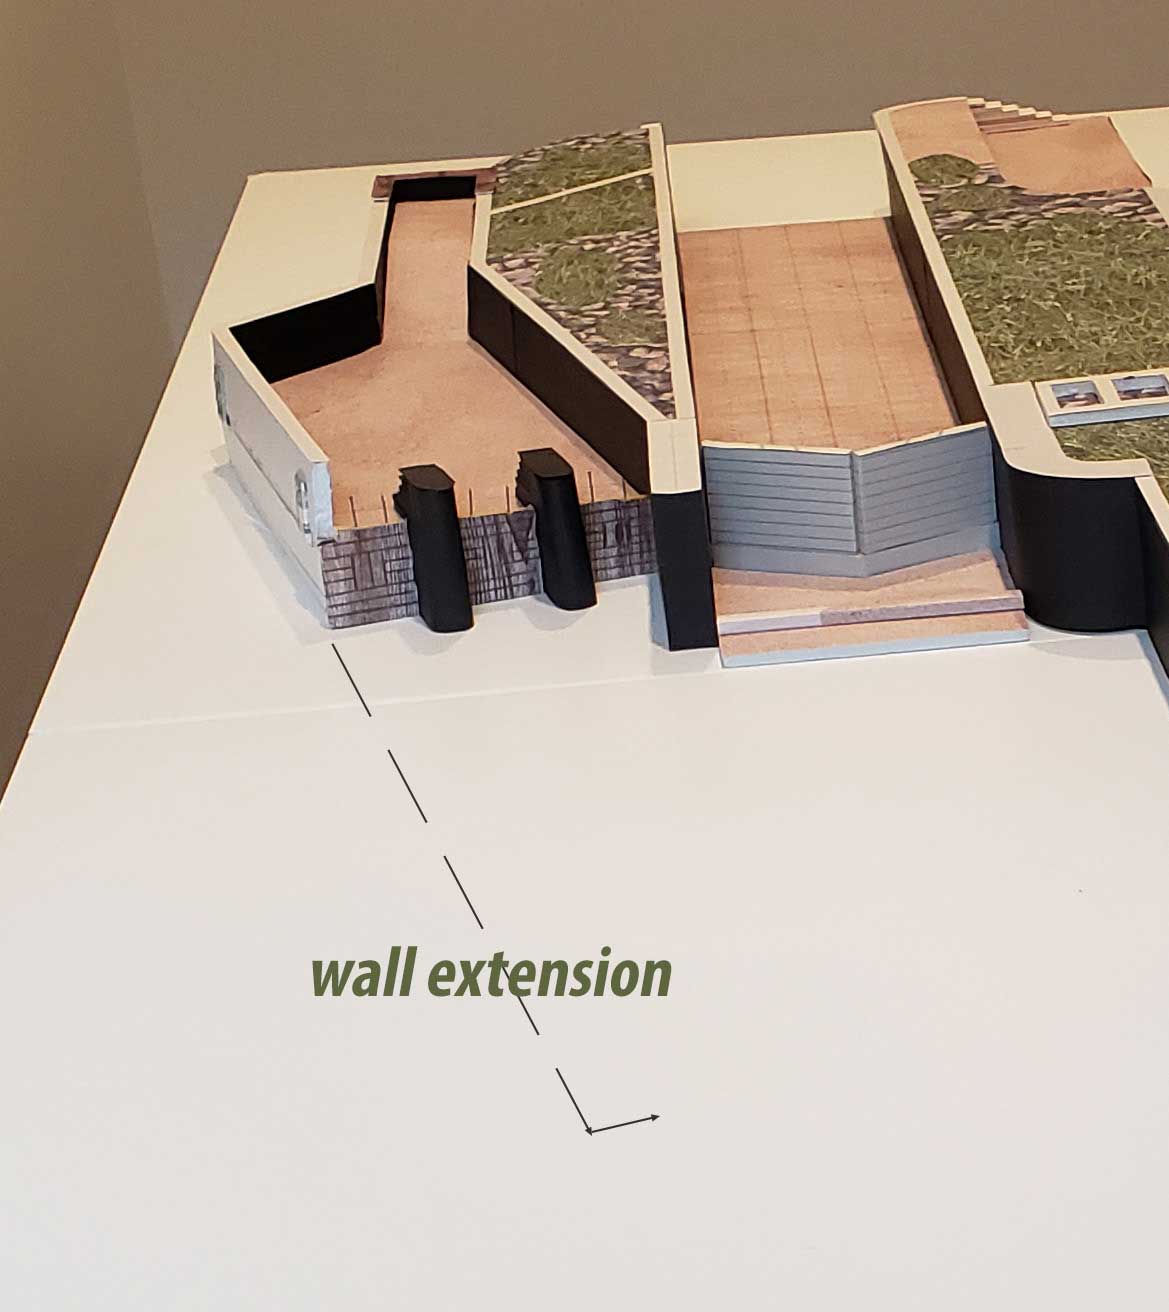
If you follow this wall, it will take you to the northernmost sluice gate… or you can swim in to the centre area and the other two (identical) gates.
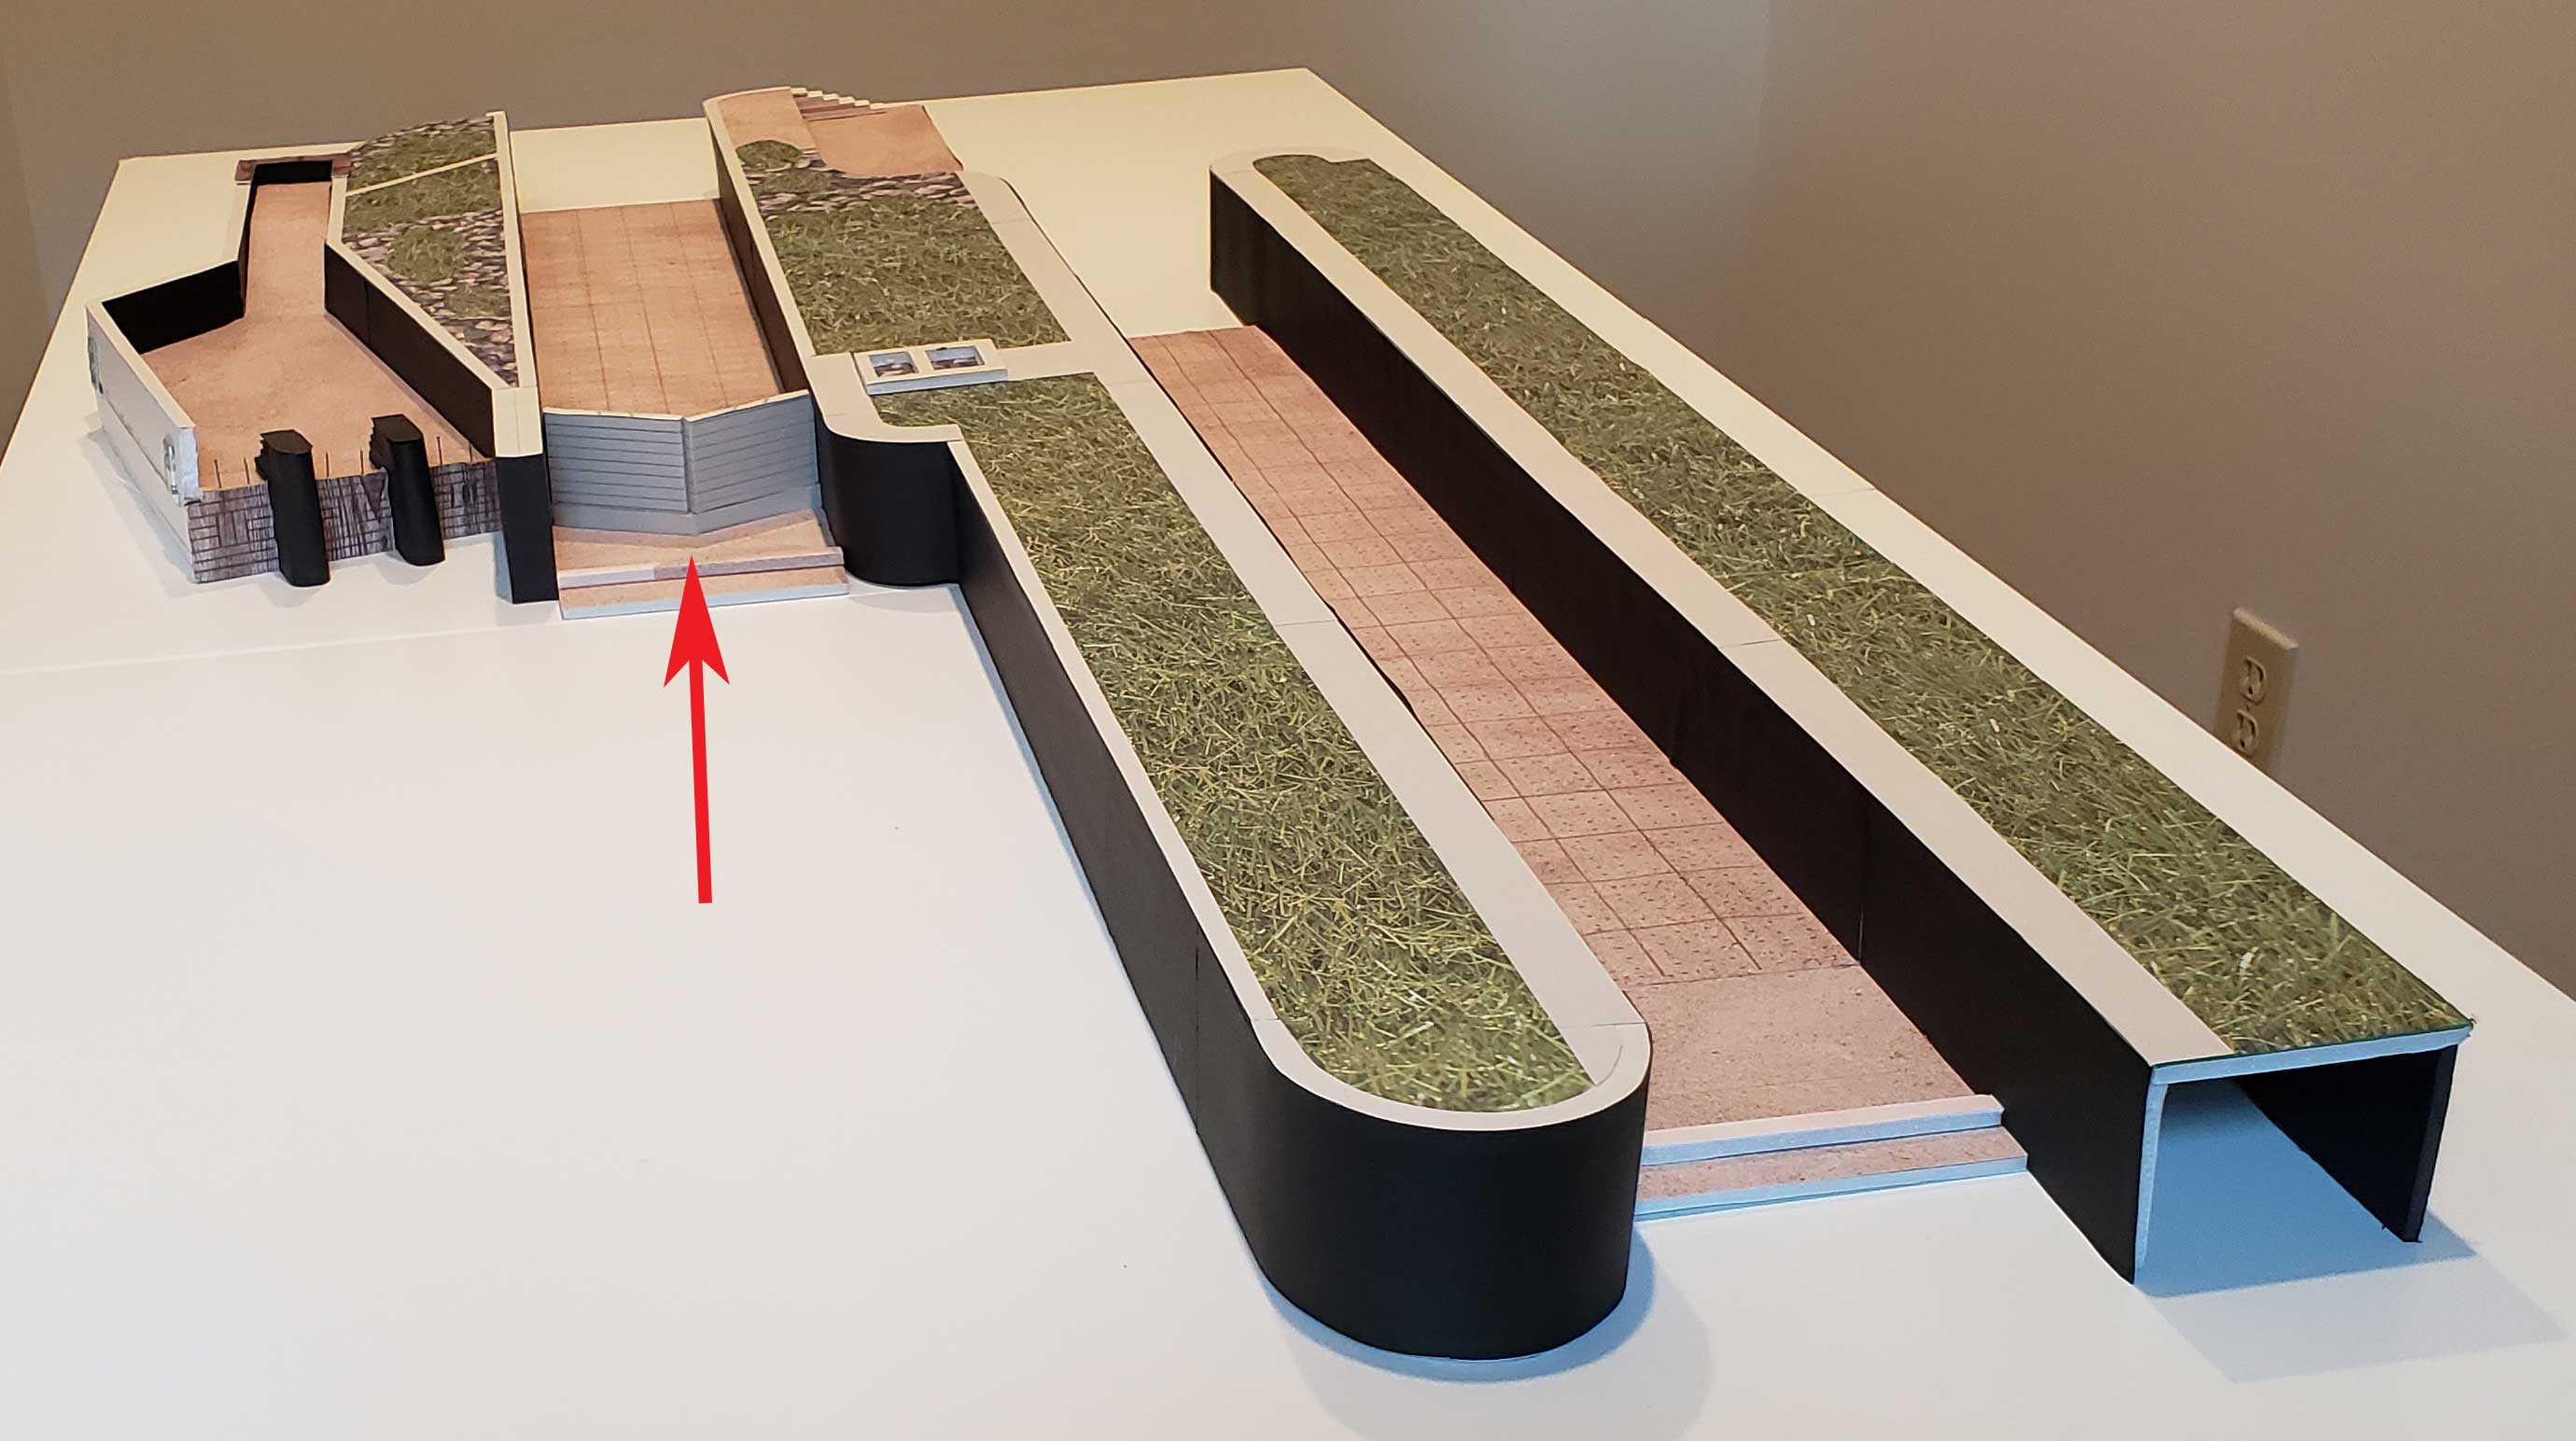
The Flat Wall Between the HE Plant and Rapide Plat Lock
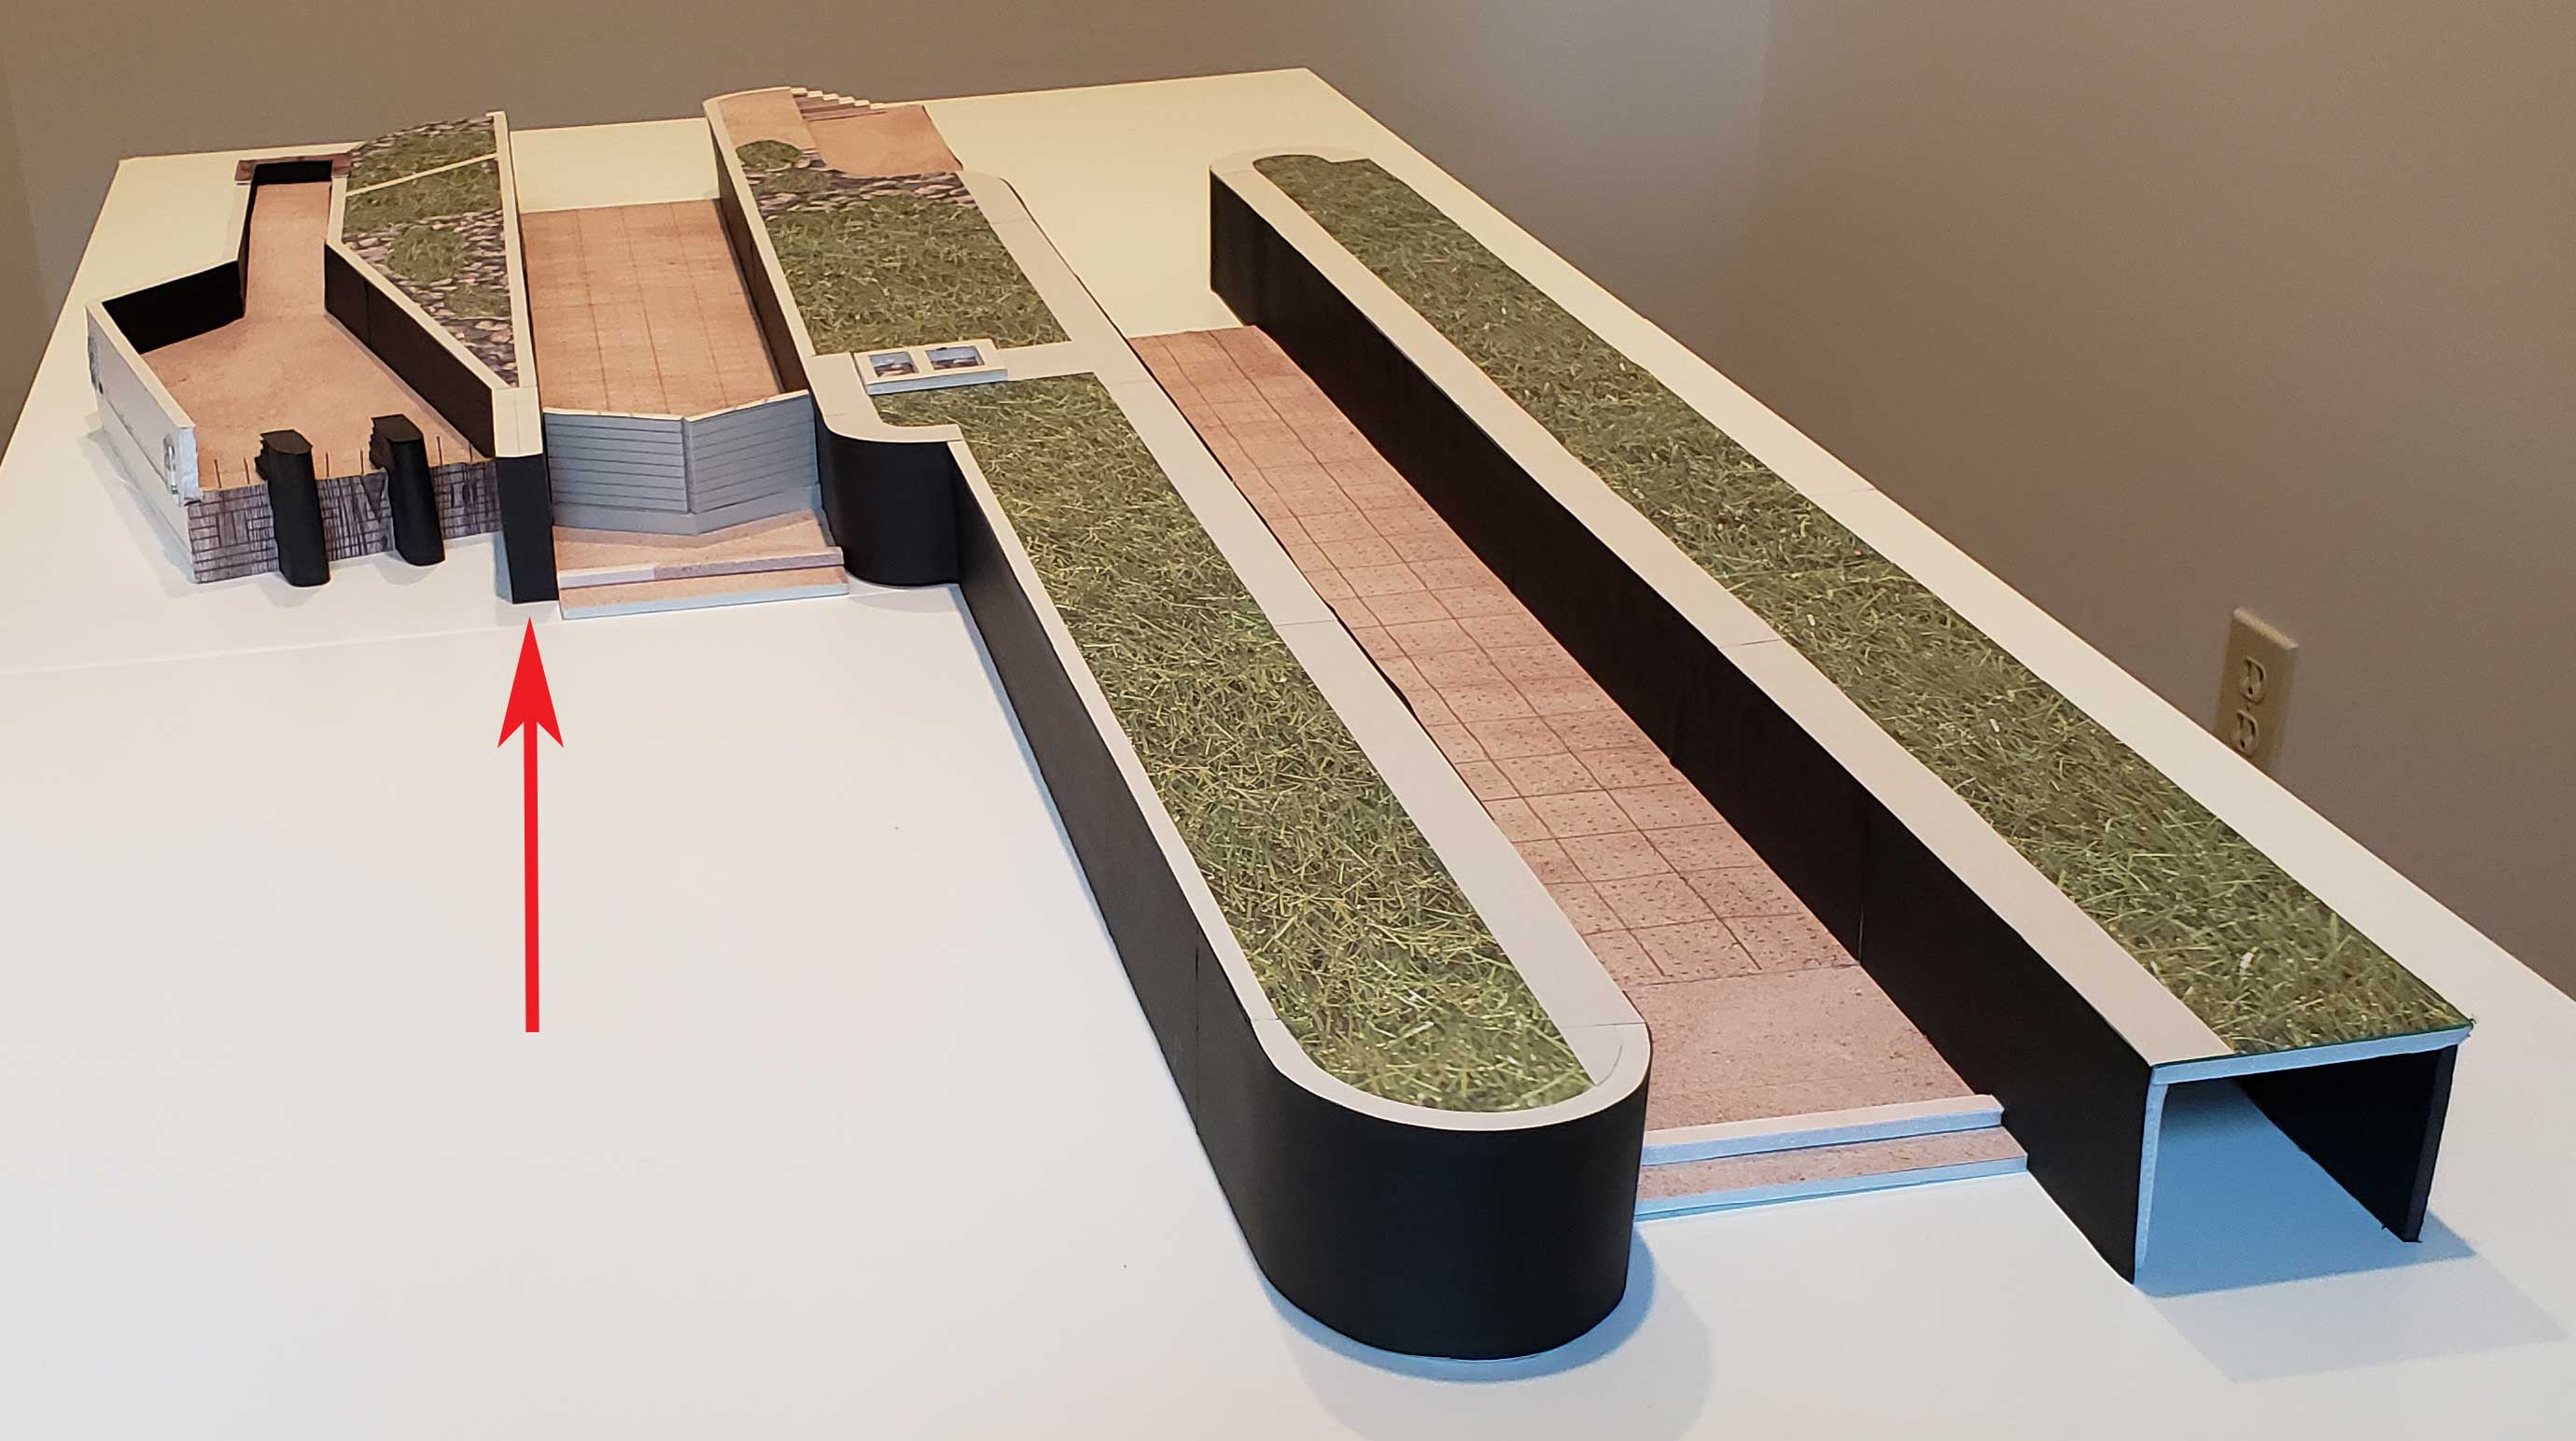
Drifting at “road plus 16” should bring you directly to this relatively narrow, flat wall. The current will want to pull you to either side so work to maintain your depth. There isn’t much of a berm except very close to the wall.
After about half your drift, you’ll notice rather interesting clumping clay on the bottom, not seen elsewhere. The current was pretty speedy on this particular day.
Drift past this strange wooden plank, then over the edge of the berm. Note the walleyes and the small wall just ahead with the pile of rocks at its base. Current will be strong. If you move left, you’ll drift to the south HE sluice gate. If you move right, you’ll see the concrete sill of the Rapide Plat Lock. I’m moving right.
The Centre of Rapide Plat Lock
You can reach this section by the above route, finding the sill on the right side of the wall, then drifting from there to the weir (the large v-shaped obstruction placed across the lock when its gates were removed during the construction of Lock 23).

You can also find it by travelling at about “road+17-18” where you’ll cross over unremarkable river bottom with no obvious landmarks other than a fewer large boulders and perhaps some building debris. There’s not much berm in front of the weir because the silt is dropped in front of the taller structures on either side. The sill is mostly covered in silt so you likely won’t notice it.
You’ll suddenly come upon the weir itself with a fair amount of rubbish strewn in front. The visibility is often terrible here with all the water movement. Larry is used to waiting for me as I try to navigate with my GoPro…
The Enormous Curved Wall between Rapide Plat Lock and Lock 23
This is perhaps the most difficult pinpoint spot to hit. The current can be wicked at times and because of the curved shape of the wall, breaks evenly to either side. It will quickly spew you past unless (1) you hit dead-centre, or (2) you are prepared for a work-out pulling yourself against the current to the (missed) location of your choice. I have experience with a lot of combinations of these!! It has therefore been one of the most troublesome areas to manage a GoPro while trying to haul myself around with the other hand…
Because of the size of the wall, the berm and rock pile in front of it are equally large. Therefore you must concentrate on keeping your depth stable and remember that, as you close in on the wall, you will rise a foot or two. “Road+ 19” should get you to the inner curve, “road + 20” to the centre, “road +21” to the outer curve.
The drift has no obvious landmarks. Larger boulders. Perhaps more debris. It’s easy to keep your depth stable until you get close to the wall.
Here is a textbook approach to the centre of the wall on an “easy current day”….
And here is an example of an “I wish I was 50 pounds heavier” day… As we get to the wall, you will see some funny wooden posts to the left.
If you proceed left, you see these just off the wall’s north side. There are no other formations like them anywhere in the locks. I wonder if they were used to tie extra gates to, as I know these were stored underwater.
Unless we are specifically going to Rapide Plat by drifting down this wall to the weir, we often go up to the top at the centre – it’s fun up there (but material for another post)!
If you proceed right, you find yourself on the north wall of the very large Lock 23. It is not the normal route we take to visit Lock 23 but there’s no reason it couldn’t be.
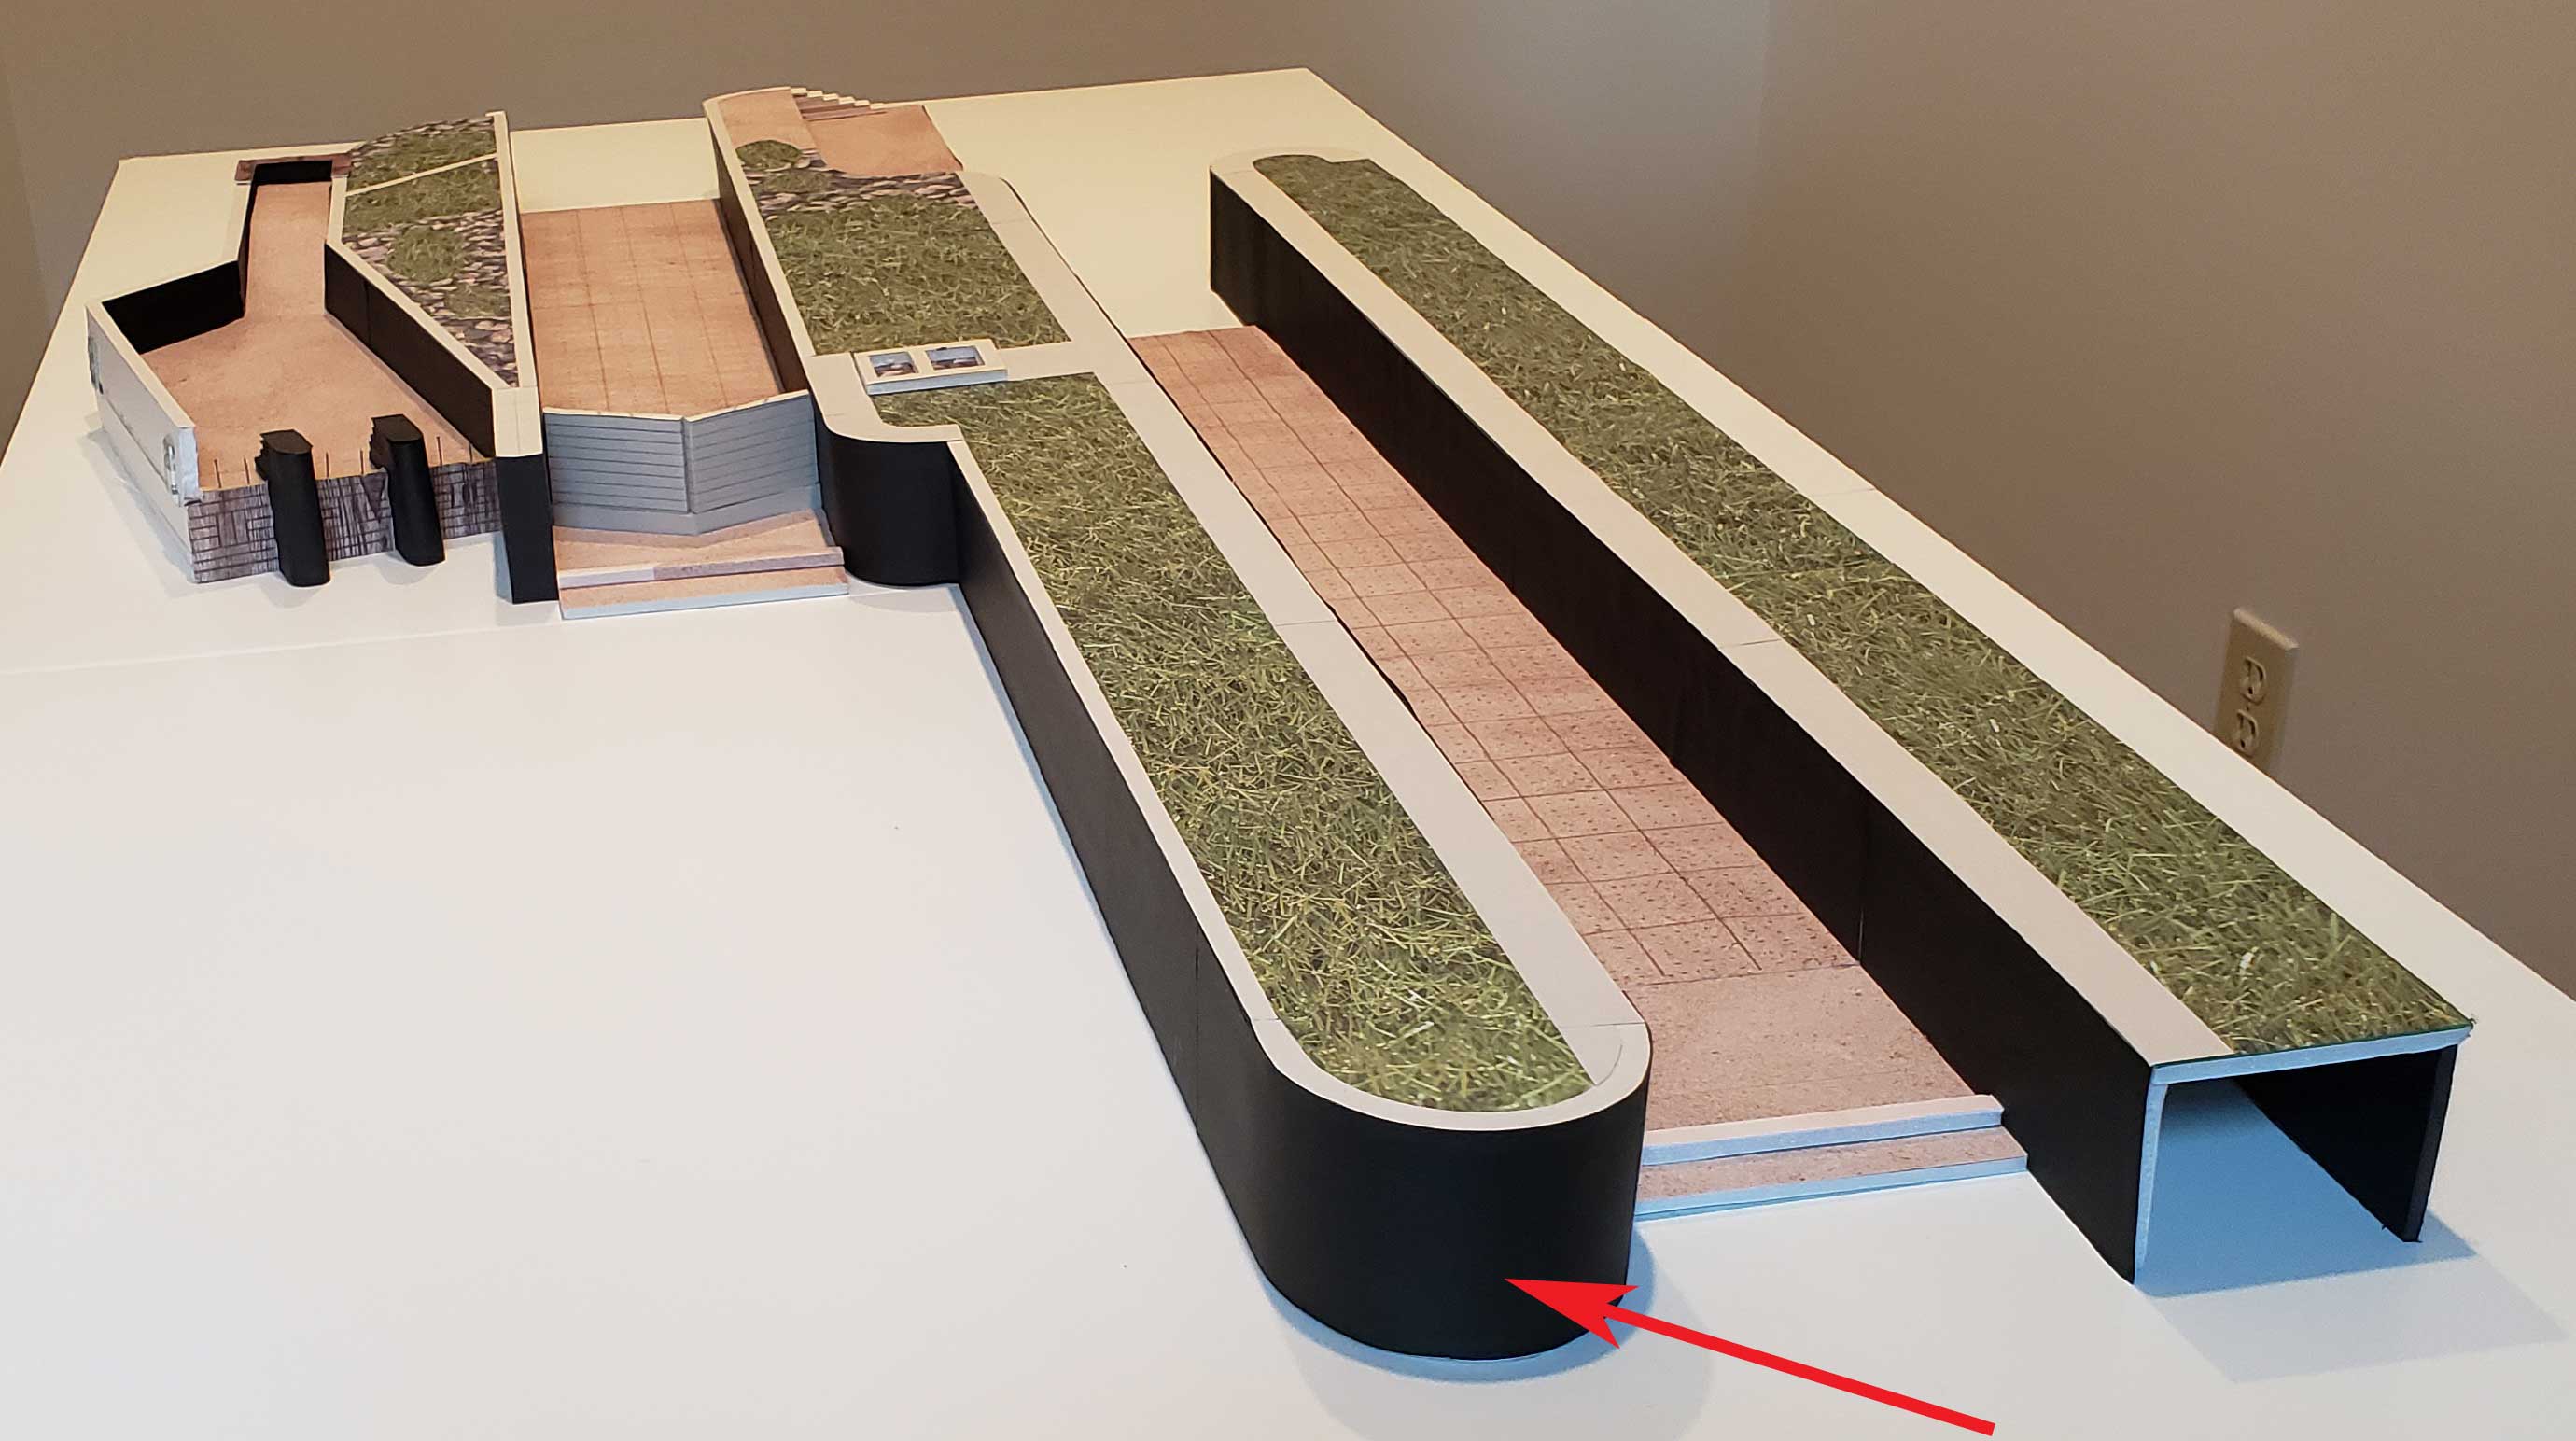
The Gigantic South Wall of Lock 23

Lock 23 is huge. Its walls are huge. To get to the south wall, you simply… head… south… until you hit the wall.
Most of the time we just follow this wall until we hit the great upstream sill of the lock.
The lock is 45 feet wide so there’s ample opportunity to move away from the wall to drift “in the open”.
While there isn’t much to see, it’s a pleasant and often rapid drift. You may get lucky to see what Larry has dubbed “the altar rock” somewhere in the middle of the 45 feet, about halfway through your drift.
Now you just have to get out there and get some experience. Always note the depth of Canal Street. Adjust your depths accordingly. Notice the little clues along the bottom and around you.
And have fun. Good diving!
Sydney
