
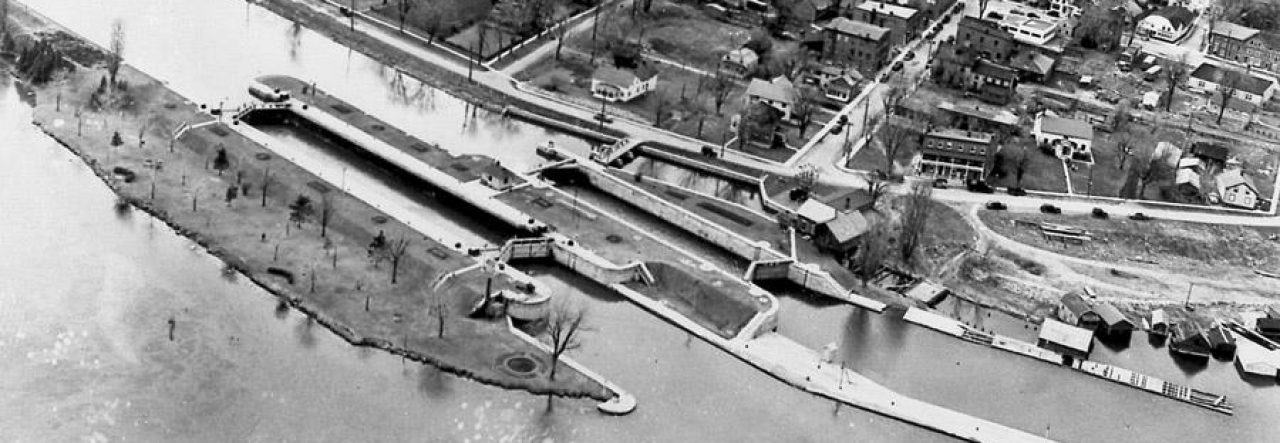
I’ve detailed the depth at which to drift to reach the sluice gates on this page, and what the river bottom looks like on that drift on this page.
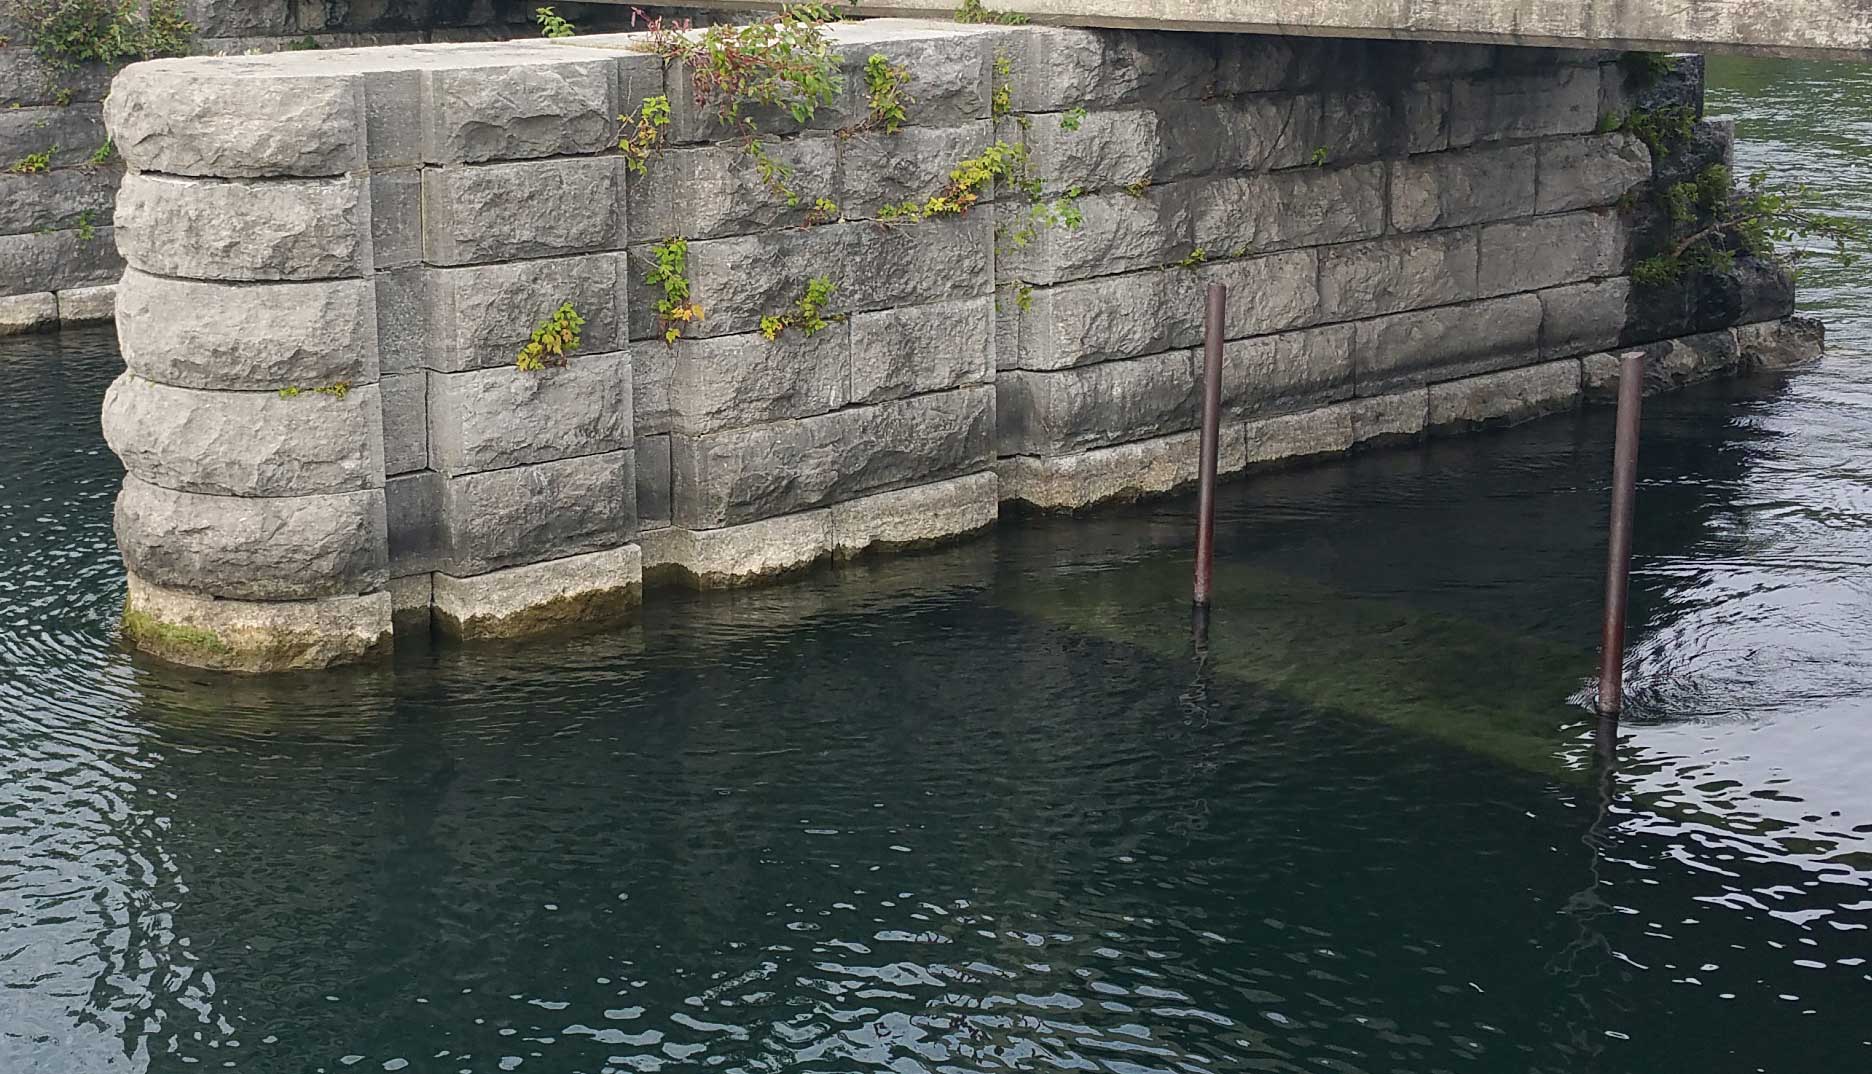
Your first landmark will be the stepped end of the headpond’s north wall, seen only if you’re drifting “shallow”, anywhere from 12 to 18 feet (if you’re approaching deeper than that, be sure to move inward as you anticipate closing in on the locks).
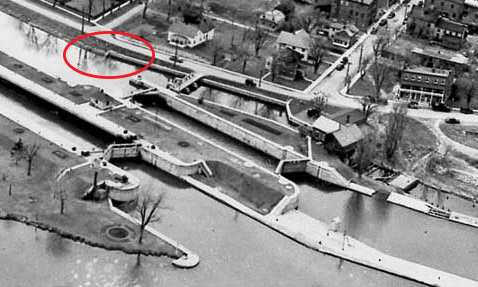
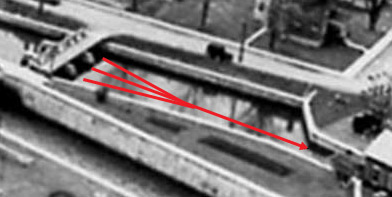
You can follow this low wall to the gates by swimming along its top or its side, where you’ll arrive at the northernmost of the three gates, or you can move away from it a bit and hit one of the other two. There is a fair degree of maneuverability allowed.
Here’s a simple diagram of a sluice gate, which is designed to control water flow by directing it beneath the surface toward a generator at the far end of the headpond.

The three Morrisburg sluice gates were made of thick-beamed wood anchored by large stone supports. Originally the gates had 5 large beams above and slightly behind. Several of them were still in place when I started diving here in 2012, but all of them were blown off in the ridiculous current of 2017.
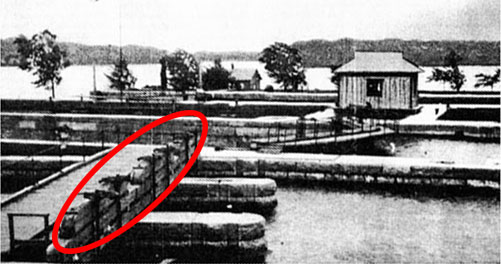
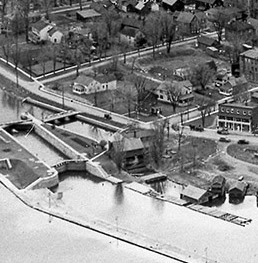
I’m including a photo of comparable structures at Lock 28 (fed by the Galop Canal) just upstream of Cardinal. Today this part of the river remains above water – remember that only between Iroquois and Cornwall was the river level raised.
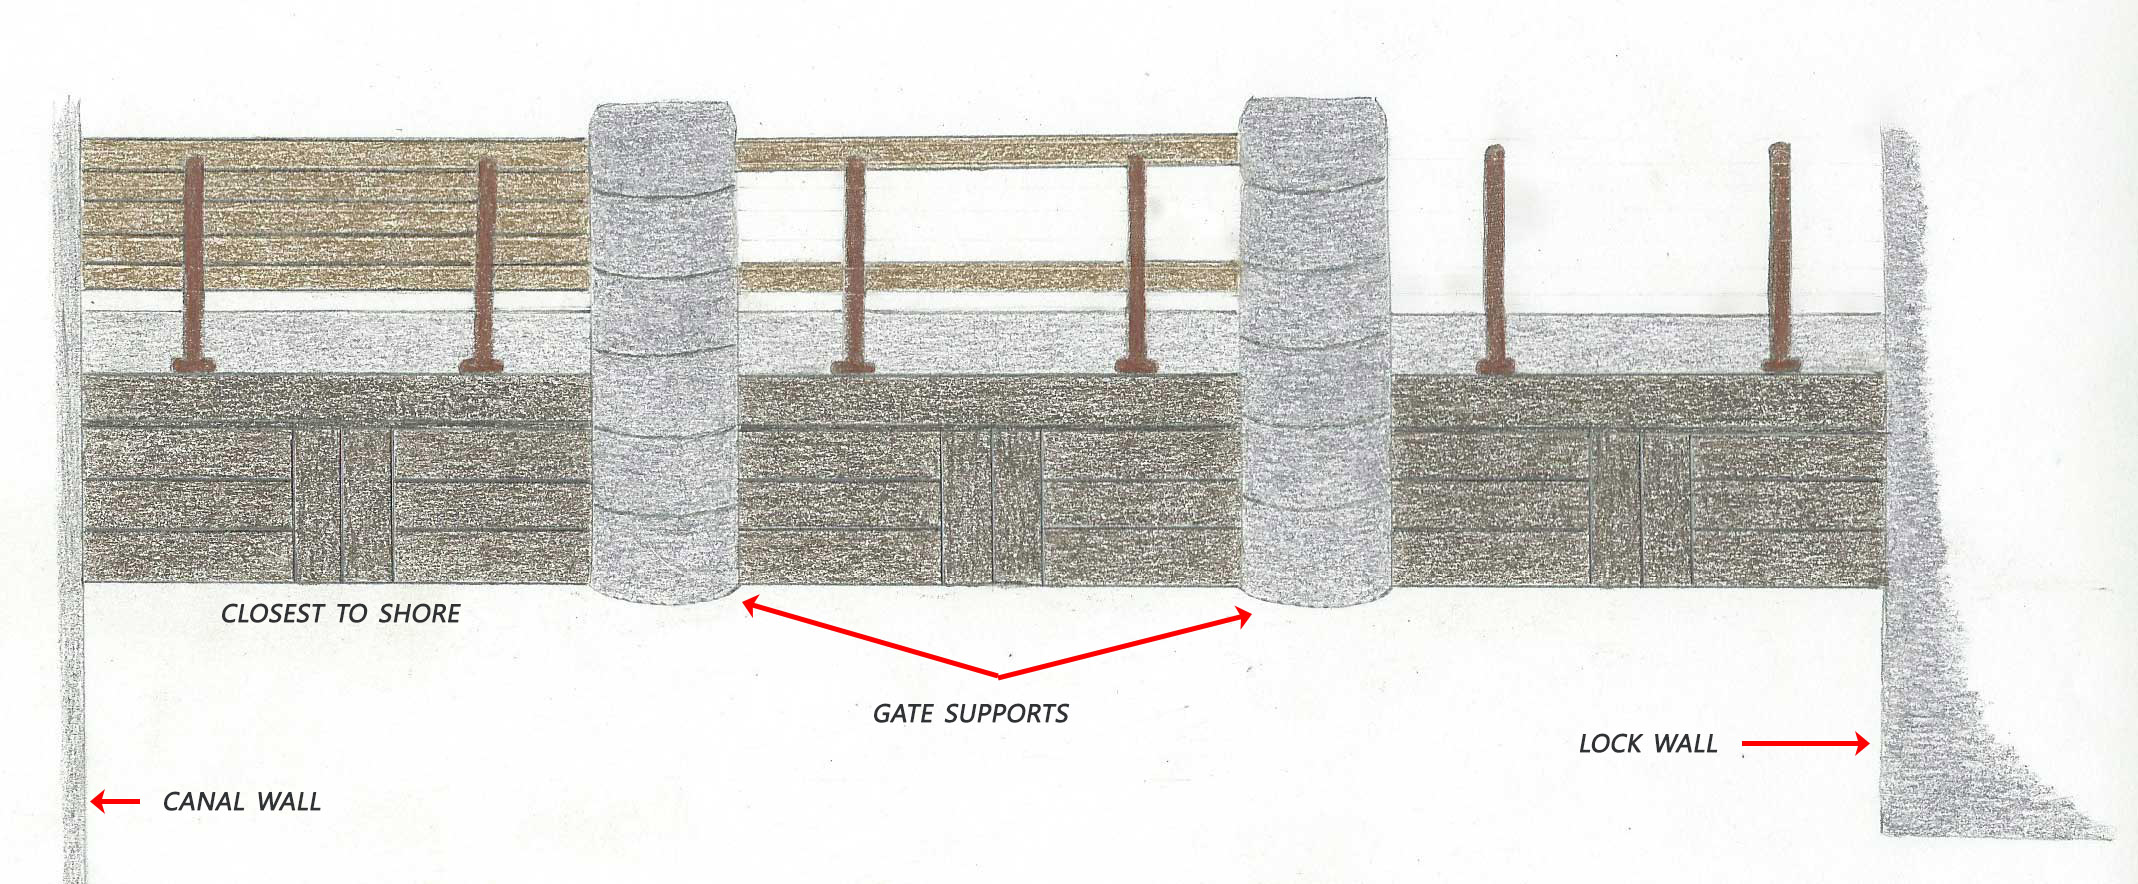
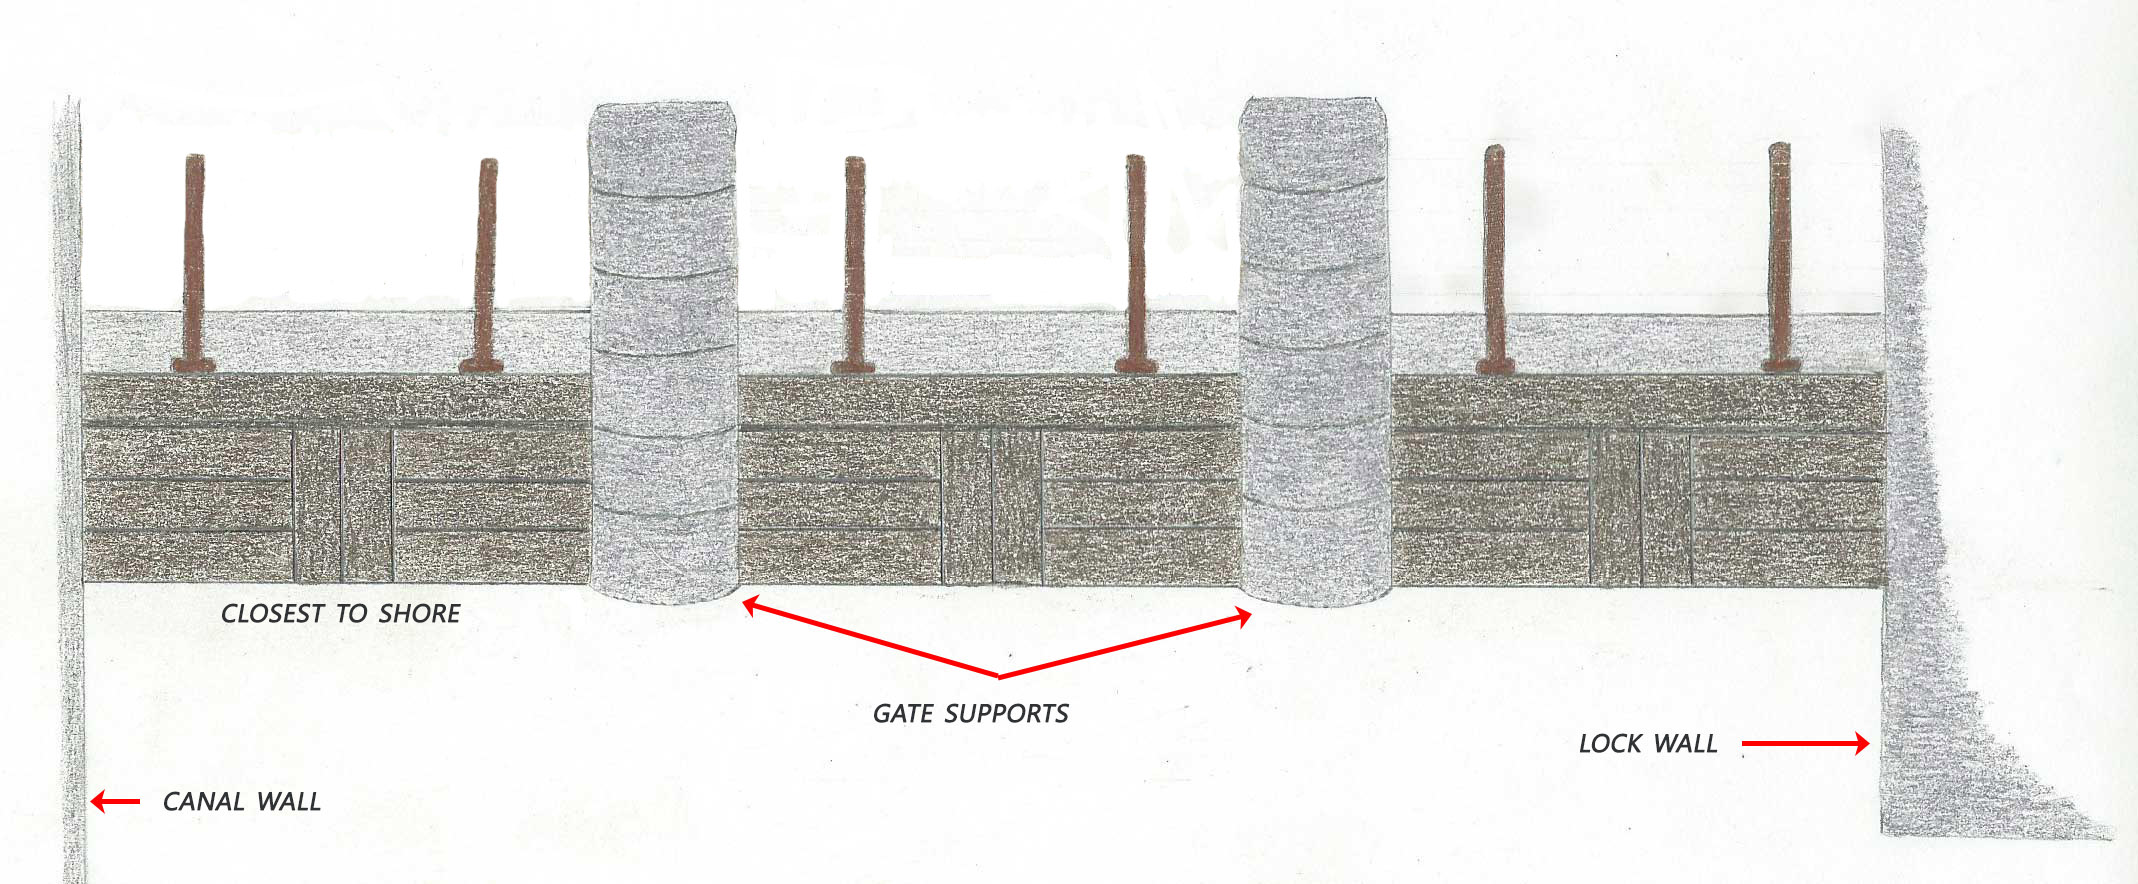

Note the indentations in the support structures. The back one was to insert the beams that are now gone. The front two were for “stop logs” – beams which could be slid in to slow or stop water flow if repairs were required on the gates themselves.
These gates were raised or lowered by hand-turned cranks. Identical cranks are still visible above ground at Lock 25 in Iroquois.

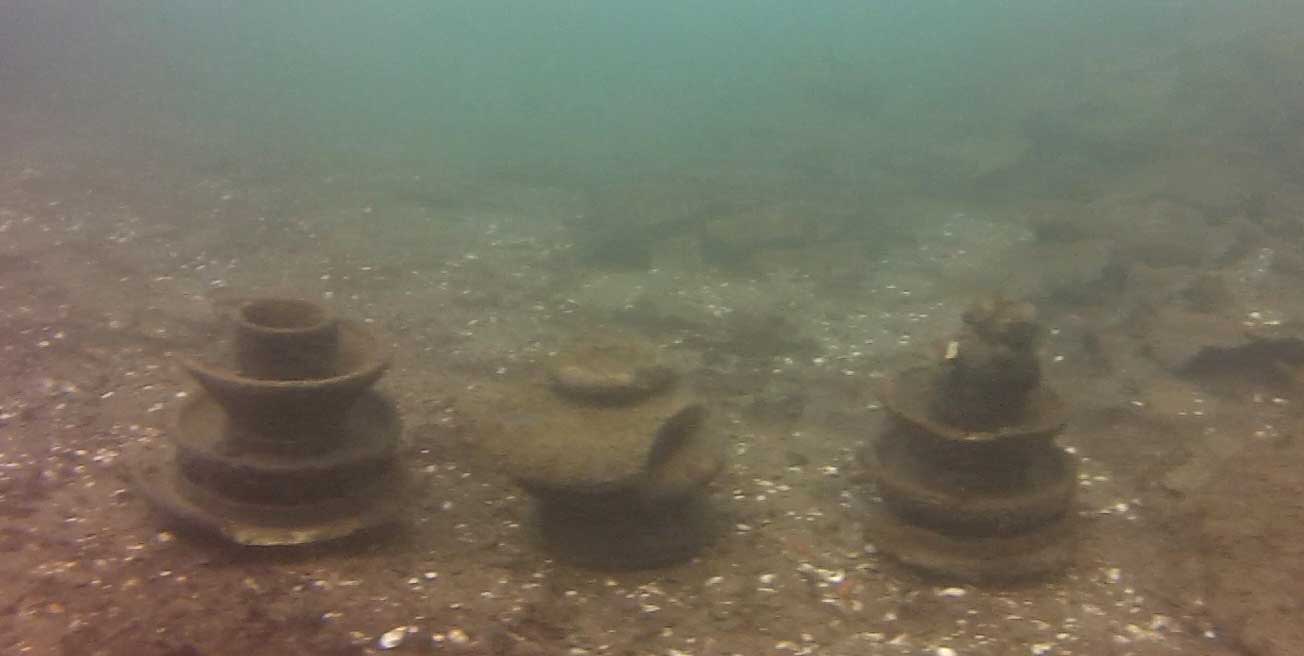
On your dive the movable bottom half of the gates look like this. It’s easy to drift over them these days since they are so much lower without the top boards and although the current can be strong as it flows around the supports, there is little risk of being swept upward.

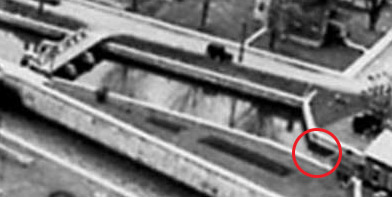
Once in the headpond, the downstream areas of the gates are more full of silt than ever, with heavy squared timbers lying all around. The only notable feature is the large steel ring embedded in the silt with a transformer cylinder lying against it. These are both at the south end of the headpond just inside the southernmost gate.

Back eddies in this portion of the headpond can be very strong, making it strenuous as you make your way east towards the narrowing portion where the turbine was located. It is sometimes a bit easier if you ascend a few feet.
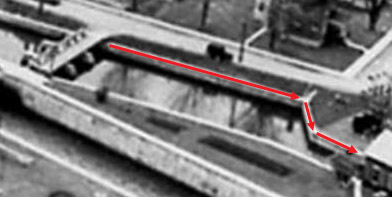
You have three movement options.
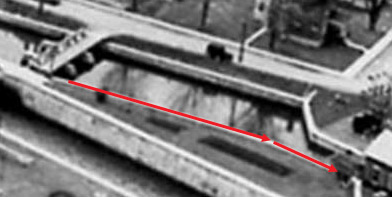
You can move along the north wall, turning at a 45 degree angle to move from stone walls to the concrete foundation of the plant.
You can move along the south wall which maintains a straight course but deteriorates as you get closer to the plant foundation. I now believe that this was due to alteration in the north wall of the Rapide Plat Lock as the Plant was constructed.
You can travel through the centre over nondescript terrain. Depth is about 28 feet.
At any rate, you’ll find yourself moving up a hill created purely from debris thrown over the edges as the area was prepared for Seaway flooding. Initially there’s little to look at, then small boulders, then larger ones, then very large chunks of concrete and a ton of red bricks. My filming is a bit wobbly – it’s hard to hold the camera smoothly when I’m using my other hand to pull myself against the eddy up the hill.
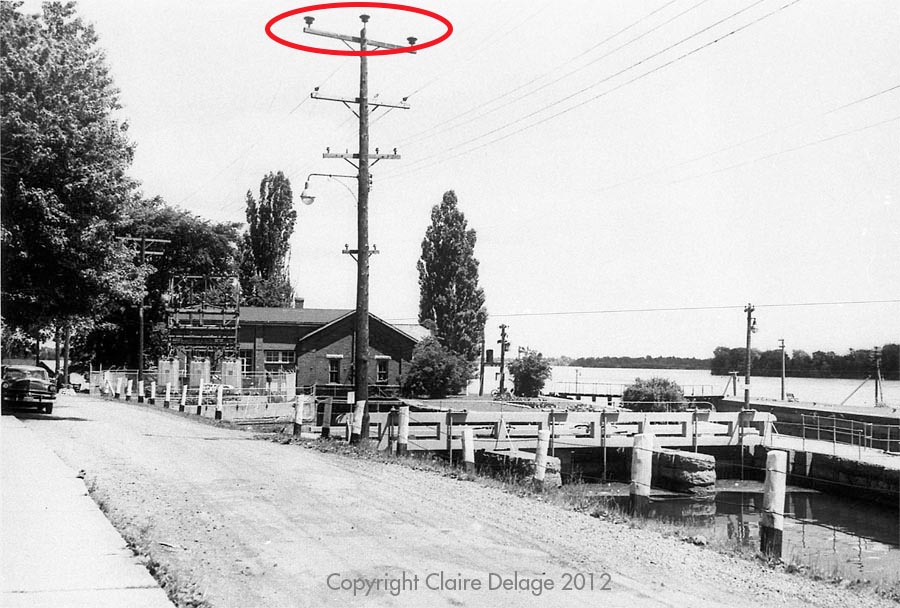
You don’t find red bricks anywhere else on site, nor do you find insulators that you will notice at the top, just before the very narrow foundation wall just ahead. The wall is at about 12-14 feet (depending upon river depth) as are all the other walls at the upstream end of the site.
The debris hill brings you to within 3 or 4 feet of the top of the plant’s brick foundation where the turbine was located. Many bricks still line the concrete at the top.
Here’s a good shot of the pile of debris, taken from the top of the wall just before I head over it.
This is where the water left the plant to flow down the tailrace. The photo shows exit water spewing from the plant.
As soon as you descend after going over the wall, you enter the tailrace area of the plant – the topic of the next post.
Sydney
