
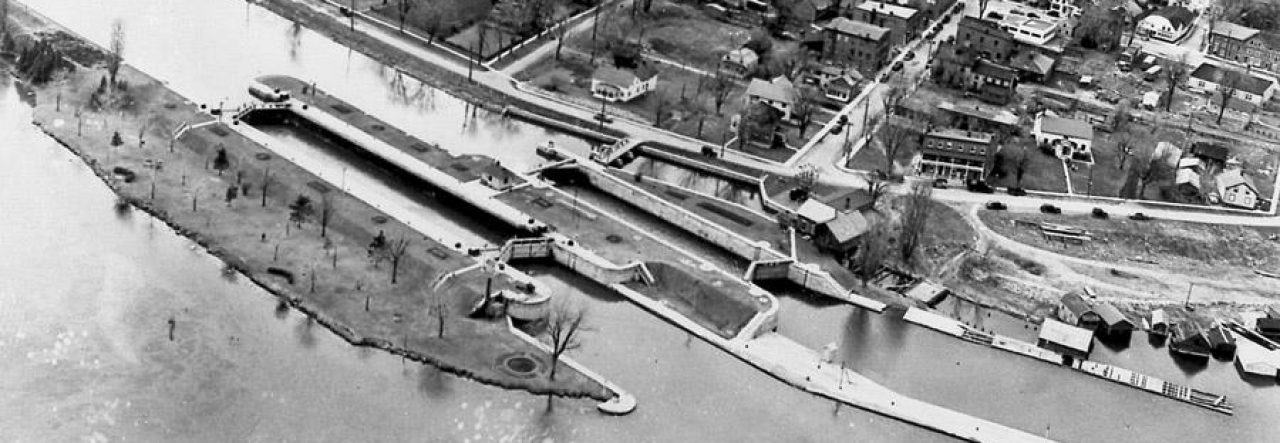

In this photo, courtesy of stlawrencepiks.com, you can see the grassy section between the two locks. Starting upstream, note its important features: the initial curved approach wall, the dark rectangular and circular flower beds, the lock house in the centre, the position of the downstream Lock 23 gate, and the drop in depth where the wall curves inward, showing the stairs leading to the lower level and the larger sideways stairs at the end of the grassy area. The second set of “stairs” was merely the staggered face of the sandstone blocks where they changed levels. Remember that the lock provided 12 feet of lift – the drop is simply the difference in water depth between the lower and upper gates. Moving out of the photo in the lower right corner is the long approach pier where ships waited for their turn to enter the locks.
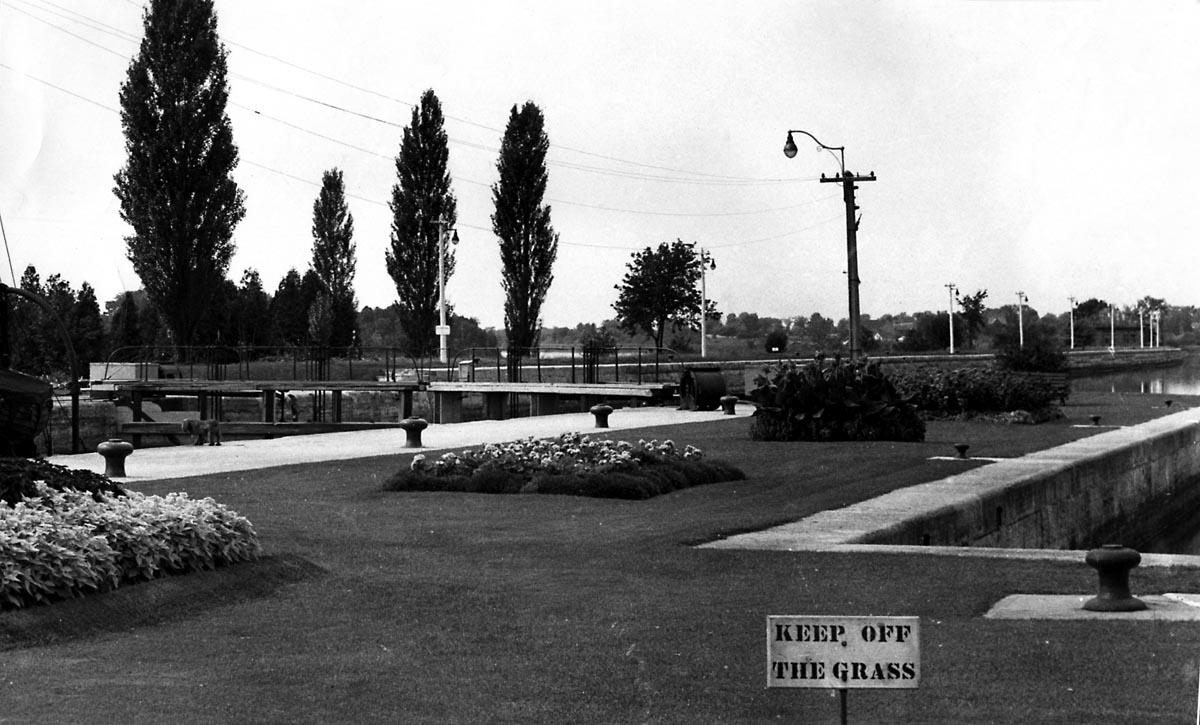
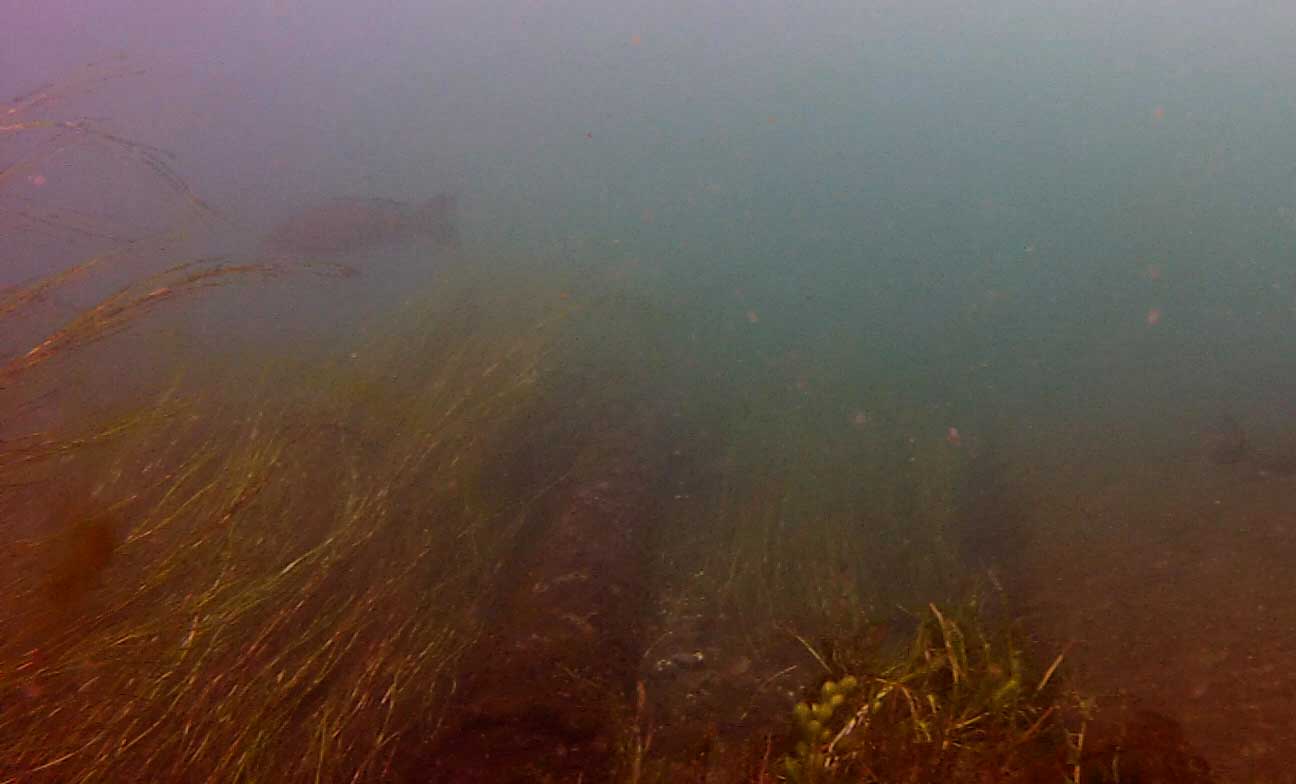
Below is a photo of the same area. Envision yourself standing beside the centre lock house, looking upstream. The flower beds seen as dark spots on the photo above are bursting with flowers in the one below. Notice – on both photos – how much wider the concrete rim is on the new lock (Lock 23) compared with that of the old (Rapide Plat Lock). The bollards (mooring posts) are large on the new lock, small on the old. All of these are landmarks for the diver today.
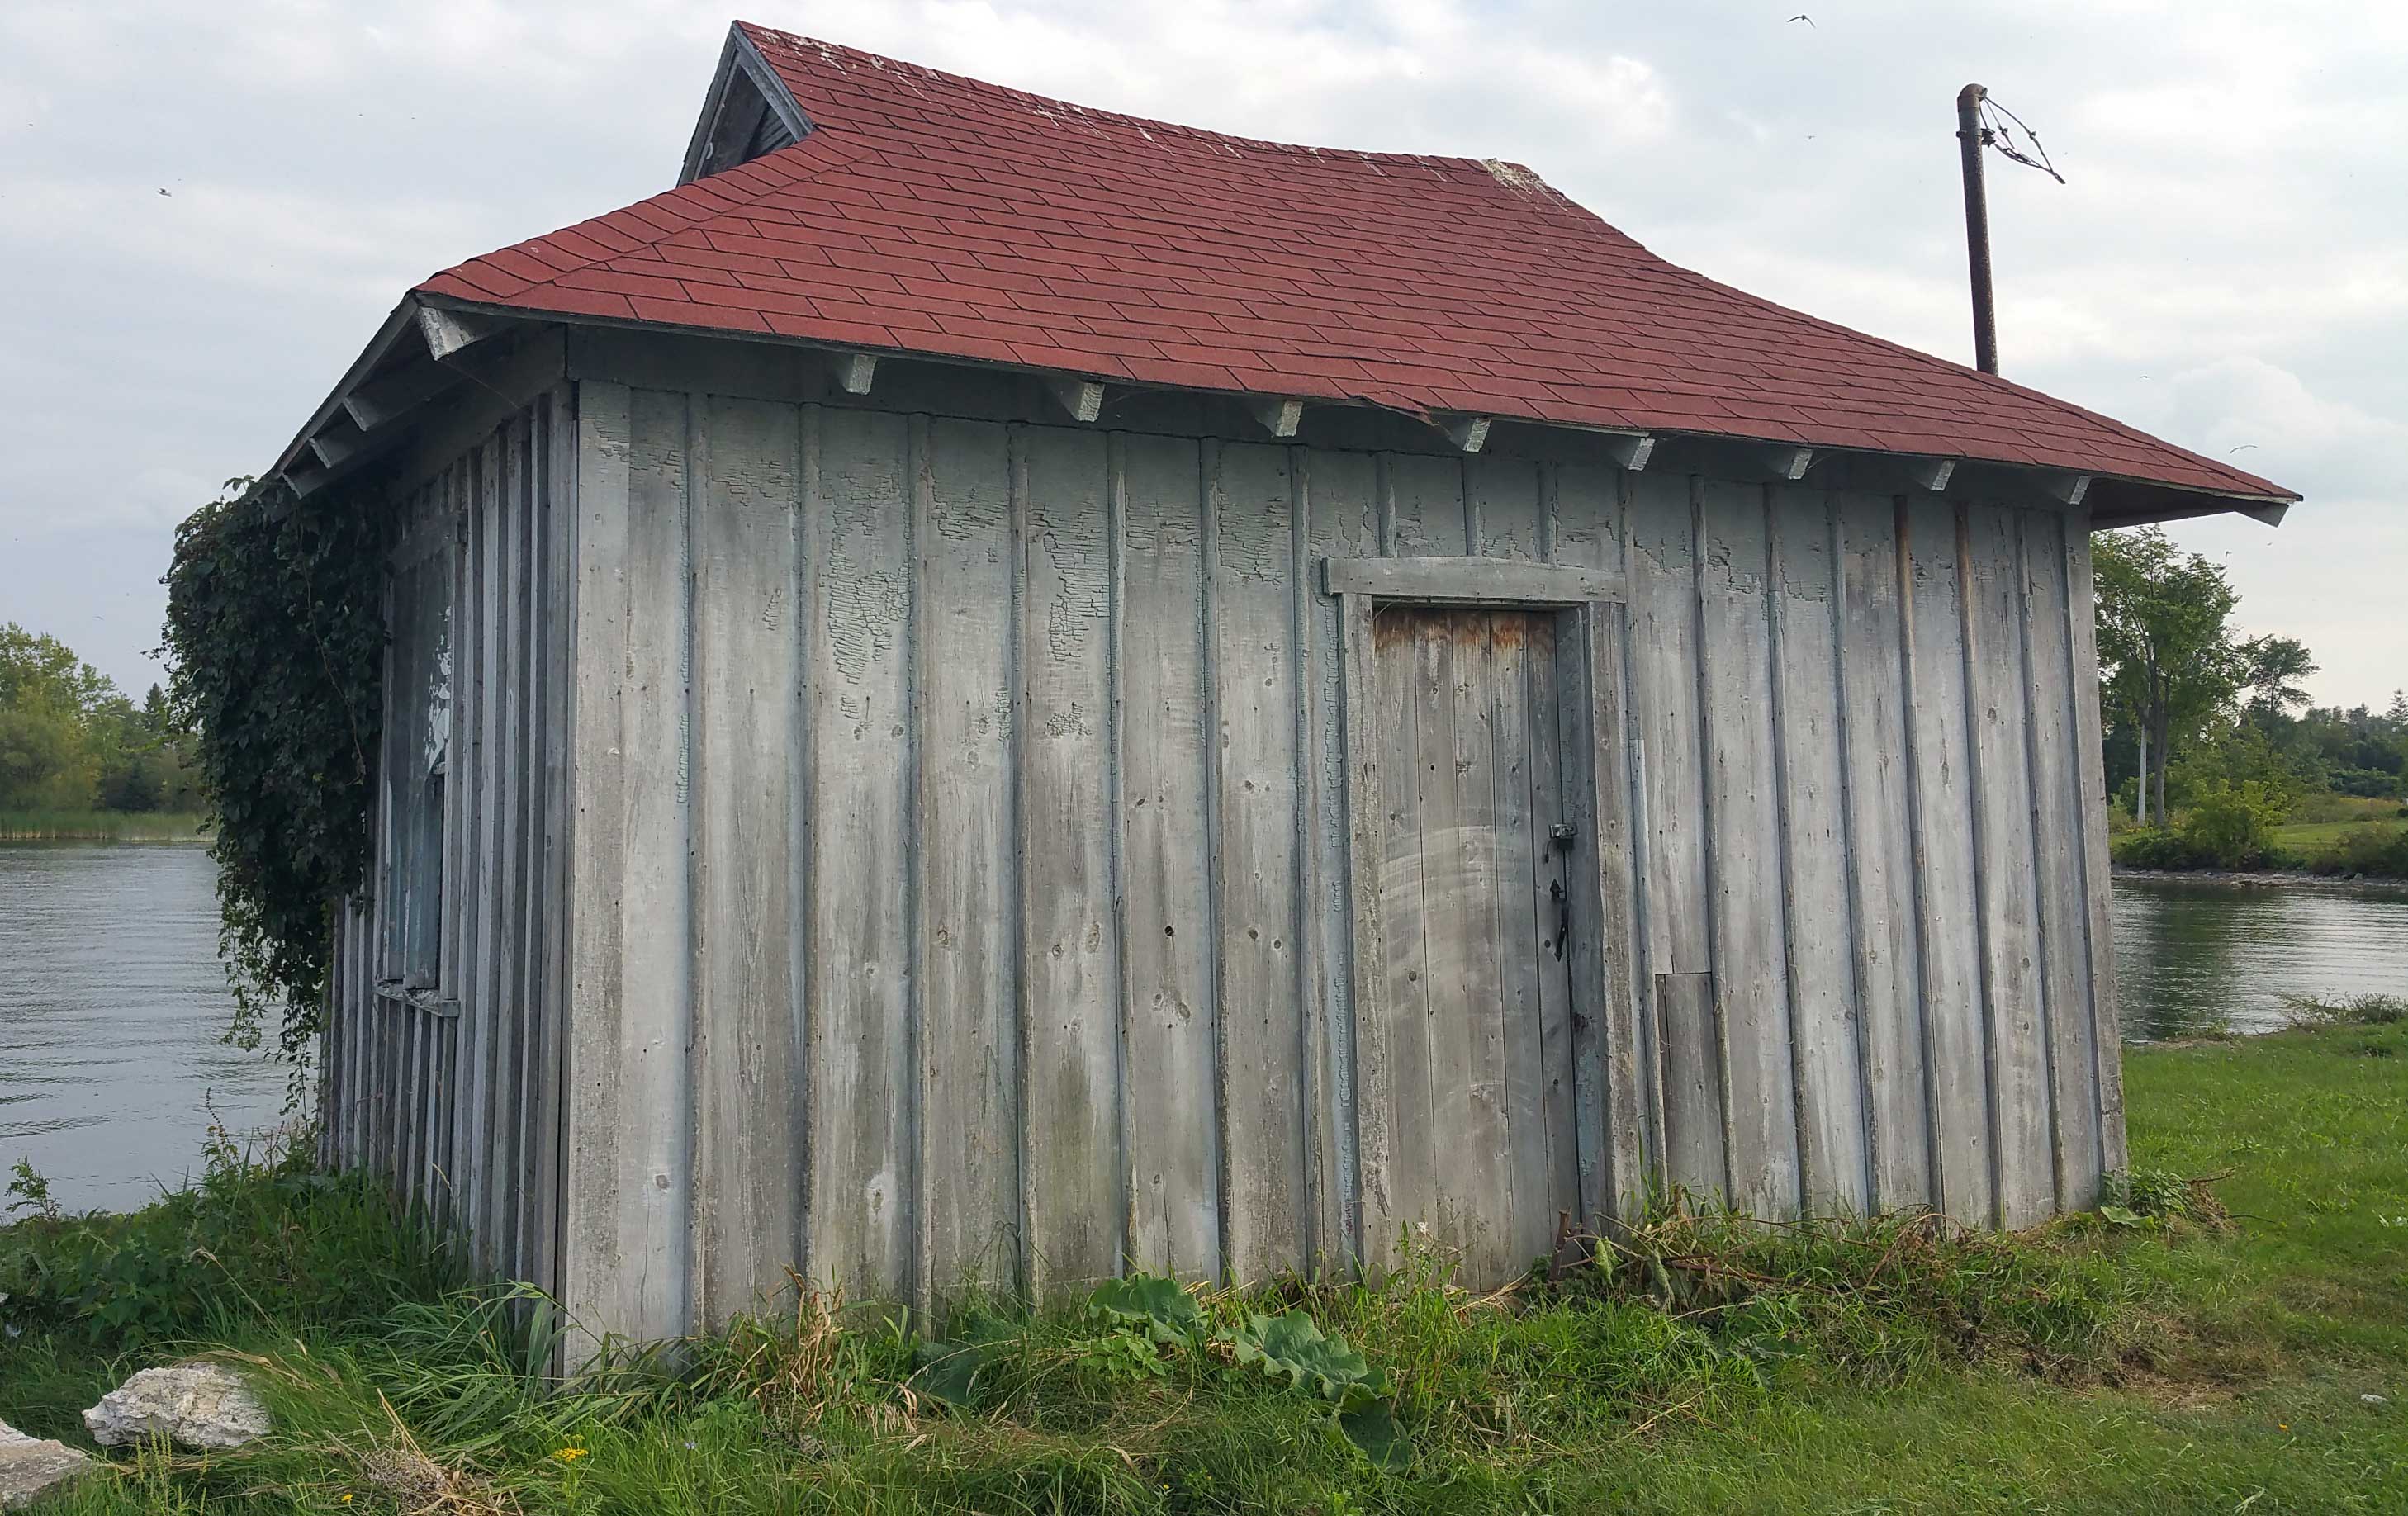
And here’s a photo of the lock house. The one at Lock 23 is gone but the one at Lock 25 in Iroquois still stands on solid ground, though a bit weathered a century later!
This central area had no trees, so today it is the only upper portion where you will not see any stumps. (Corollary: if you come across tree stumps, then you’re not in this area of the locks!)
The Dive Today:
You can get to this area by ascending anywhere along the length of either lock. However its very beginning is the curved wall at its upstream end. This is the ONLY fully curved end wall of the entire site so it’s an important landmark. I describe reaching it in this post.
Here’s is what it looked like at the time.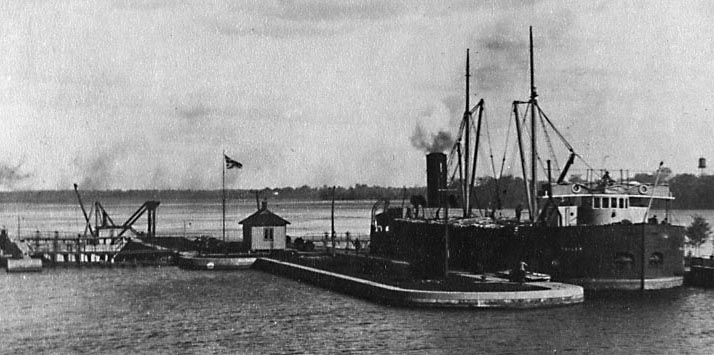
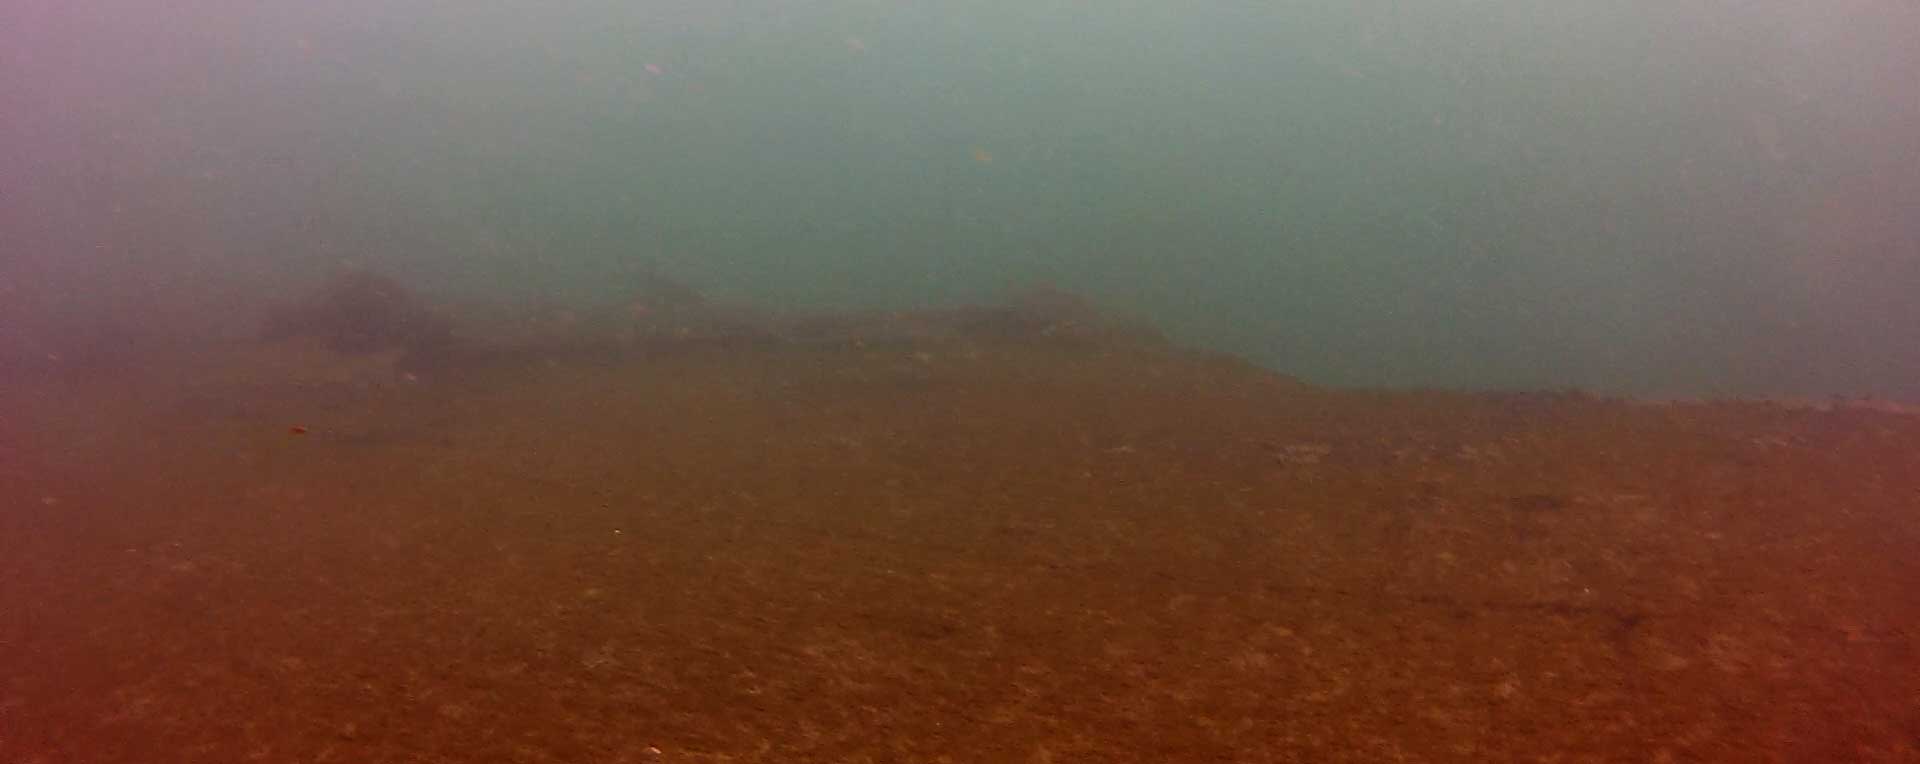
Here is what it looks like from its base today.
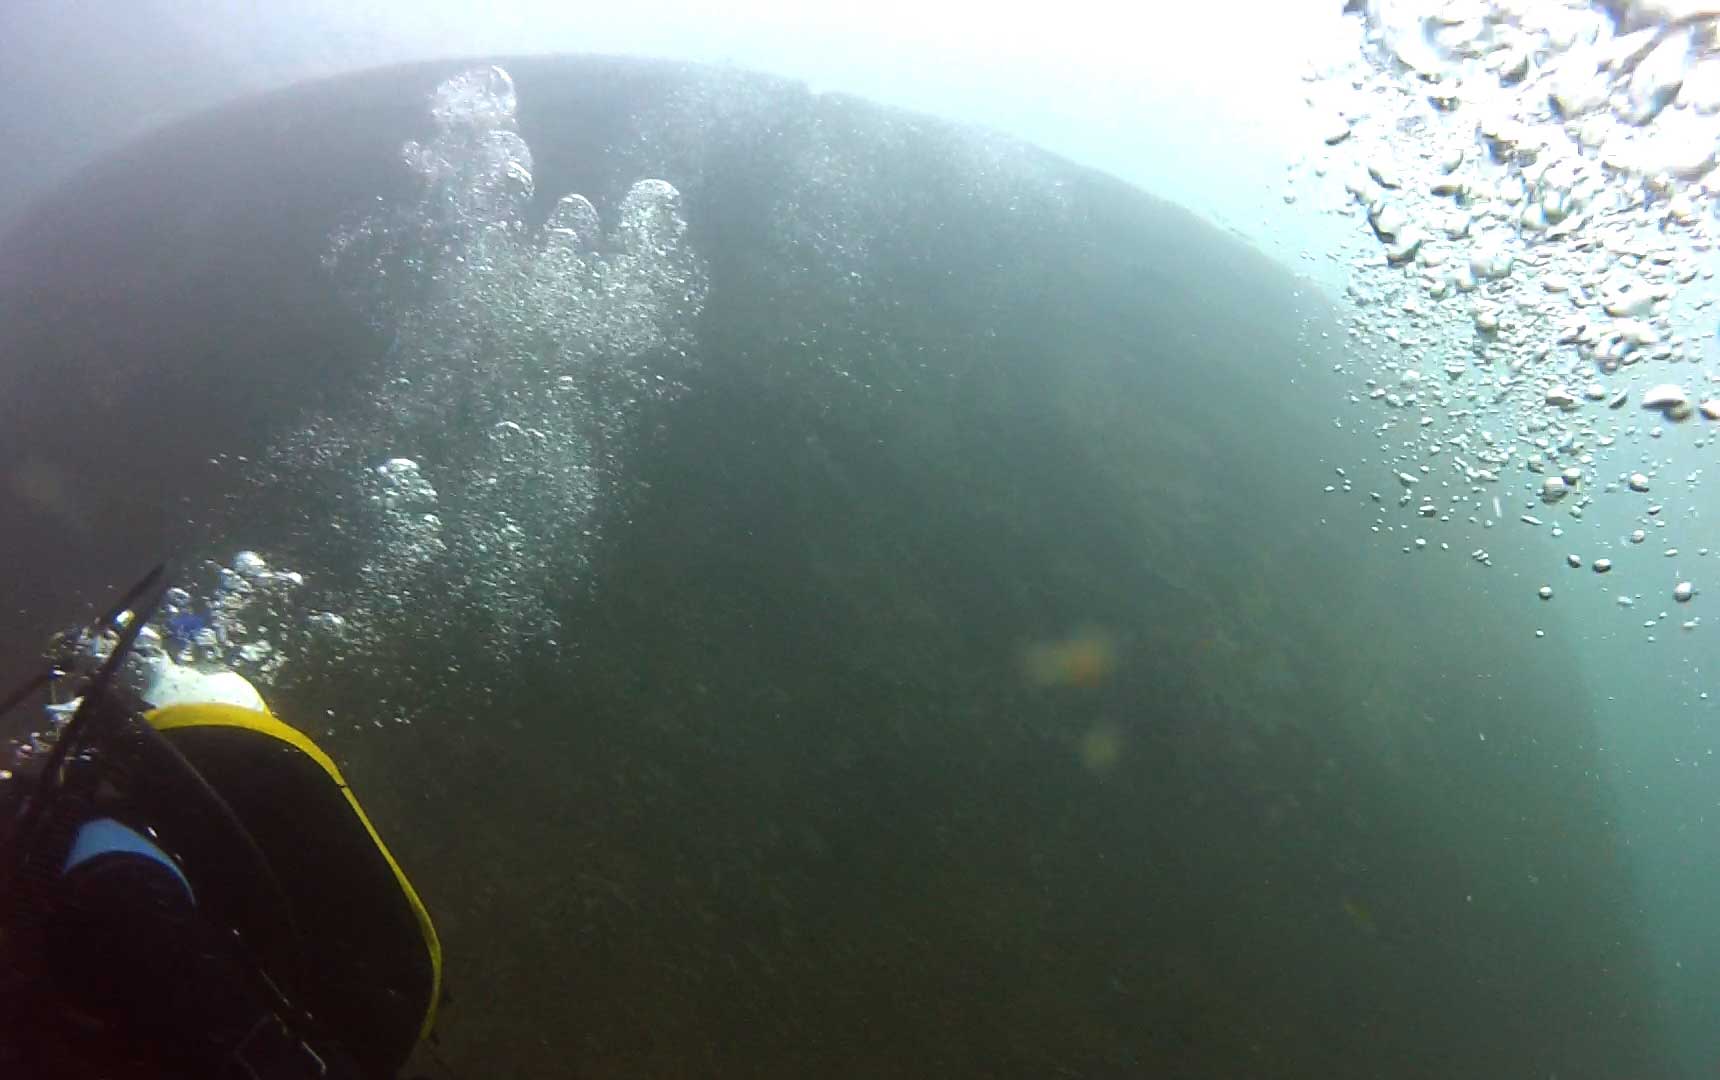 If you ascend here, you’ll notice a couple of distinct features at the top. First of all, there’s the ripping current that I keep mentioning that is present at the start of all the lock walls. You are a mere 15 feet from the surface so take great caution with your buoyancy to keep from ascending further. Secondly, you should notice the curved concrete rim of this wall, covered in zebra mussels but virtually no plant life. Keep close to your buddy – it’s easy to get separated. The entire drift on the “grassy” portion will be at 15 feet or less.
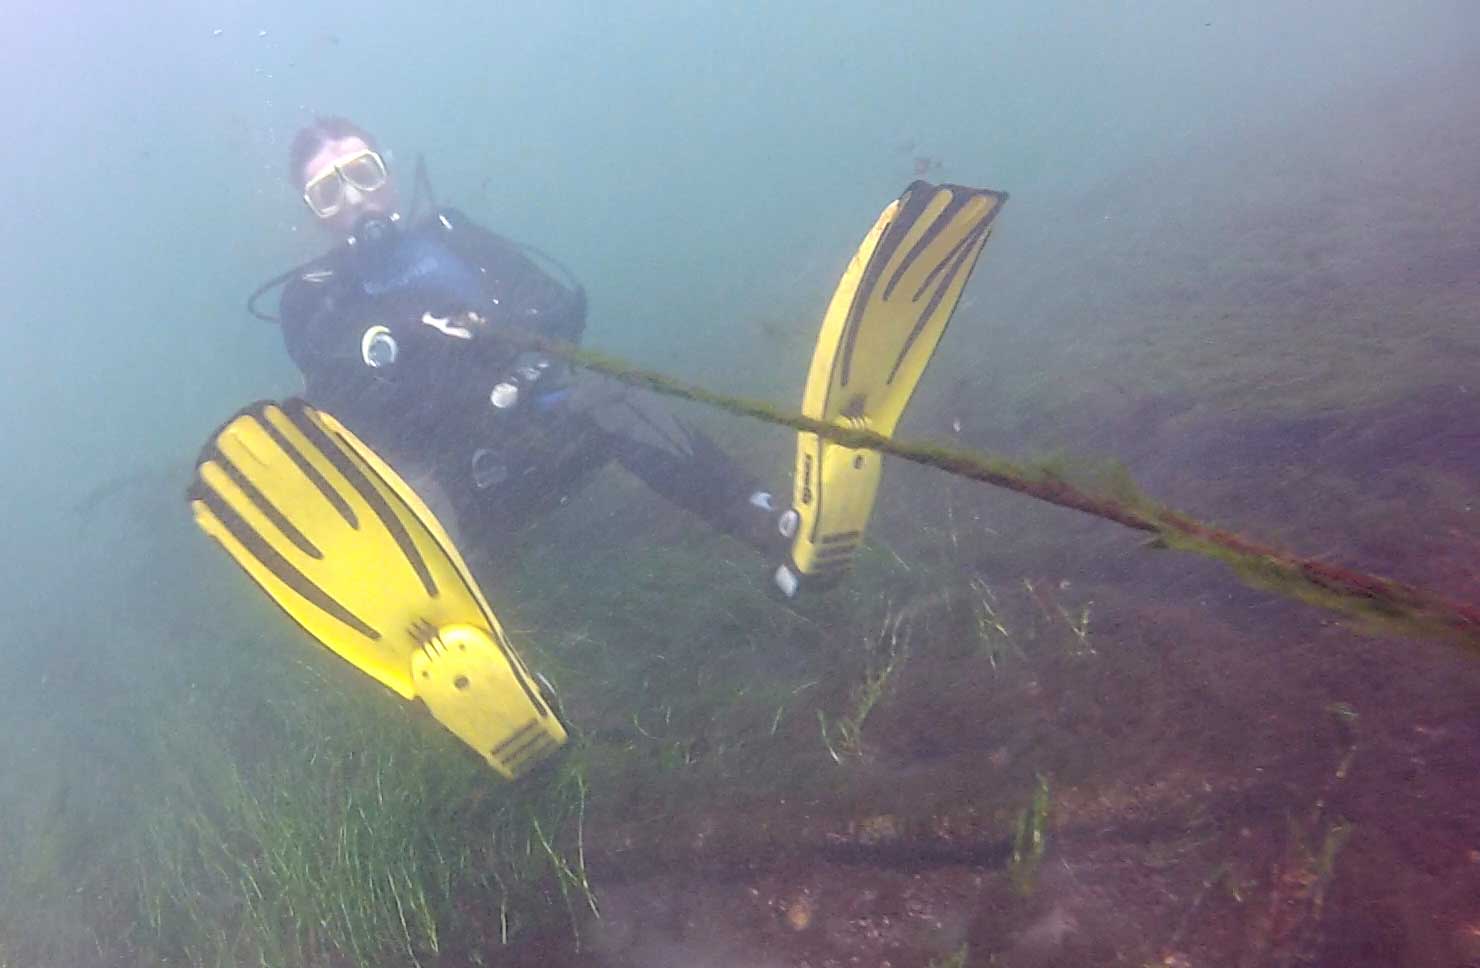
For a bit of a challenge, head quickly south (to your right) over this open patch to the first big bollard you see. It has a rope attached to it. We call it the skier’s rope – a remnant of bygone days that’s fun to grab on to and face into the current, maintaining a water-ski stance. It’s trickier than it looks!
When you’re ready, turn and drift with the current. It will carry you right to the end of the grassy area and your exit point. You can move to your left or your right to view items along the way, noting the large concrete edge on the south side (Lock 23) and the narrow edge on the north side (Rapide Plat Lock).
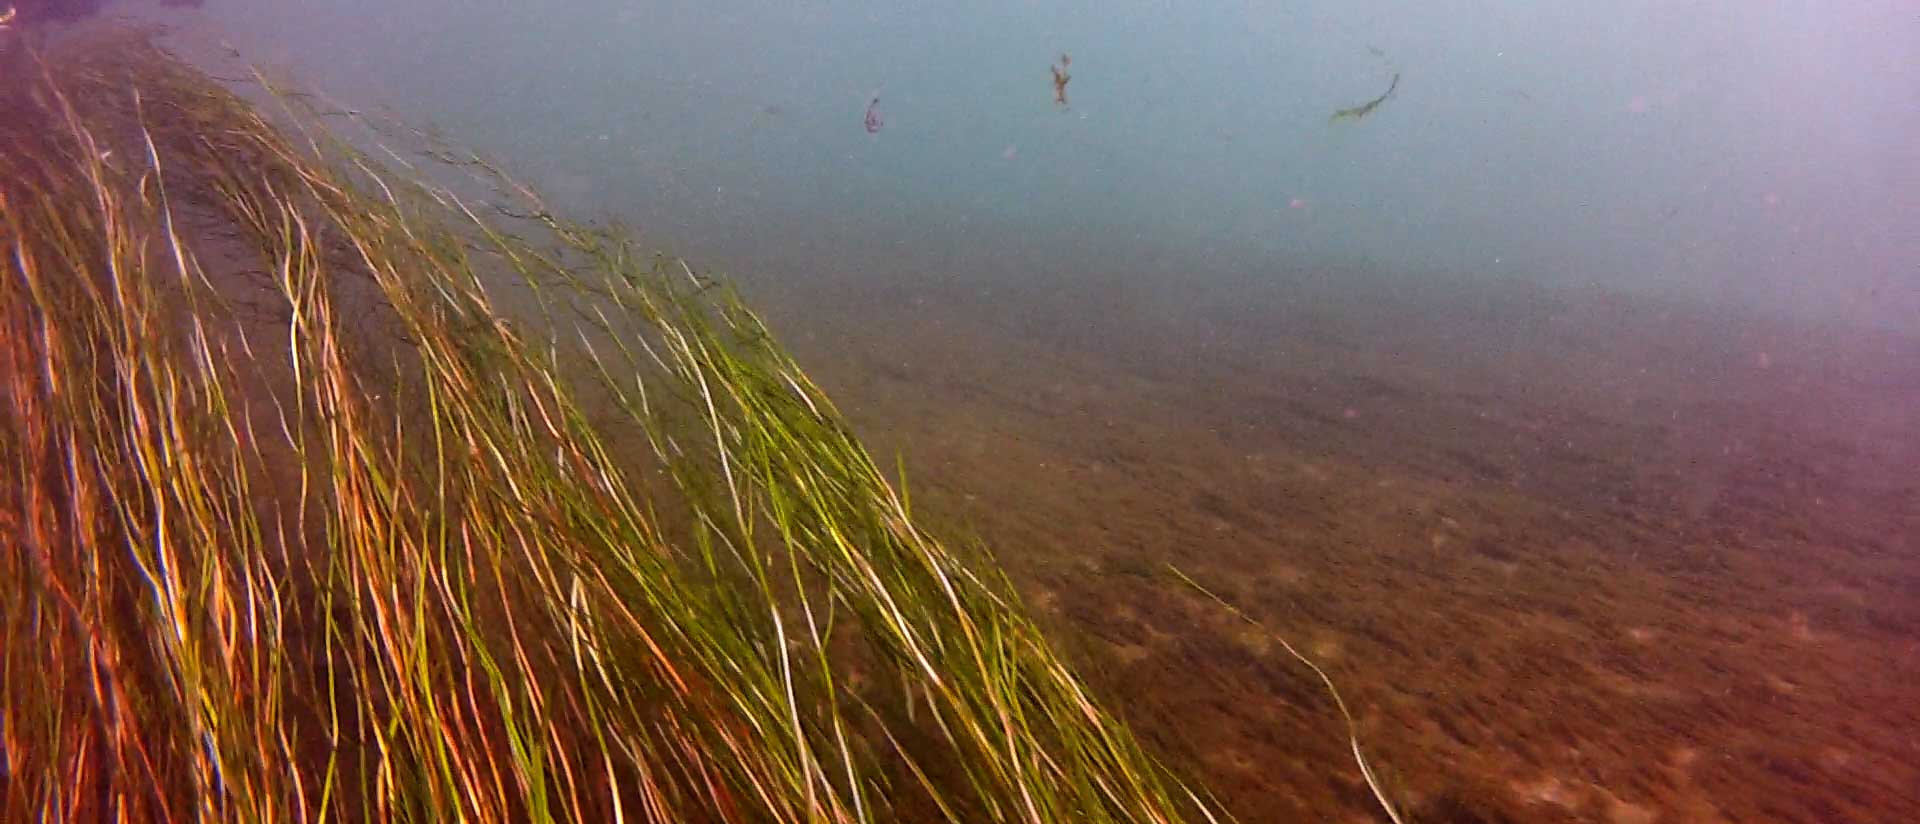

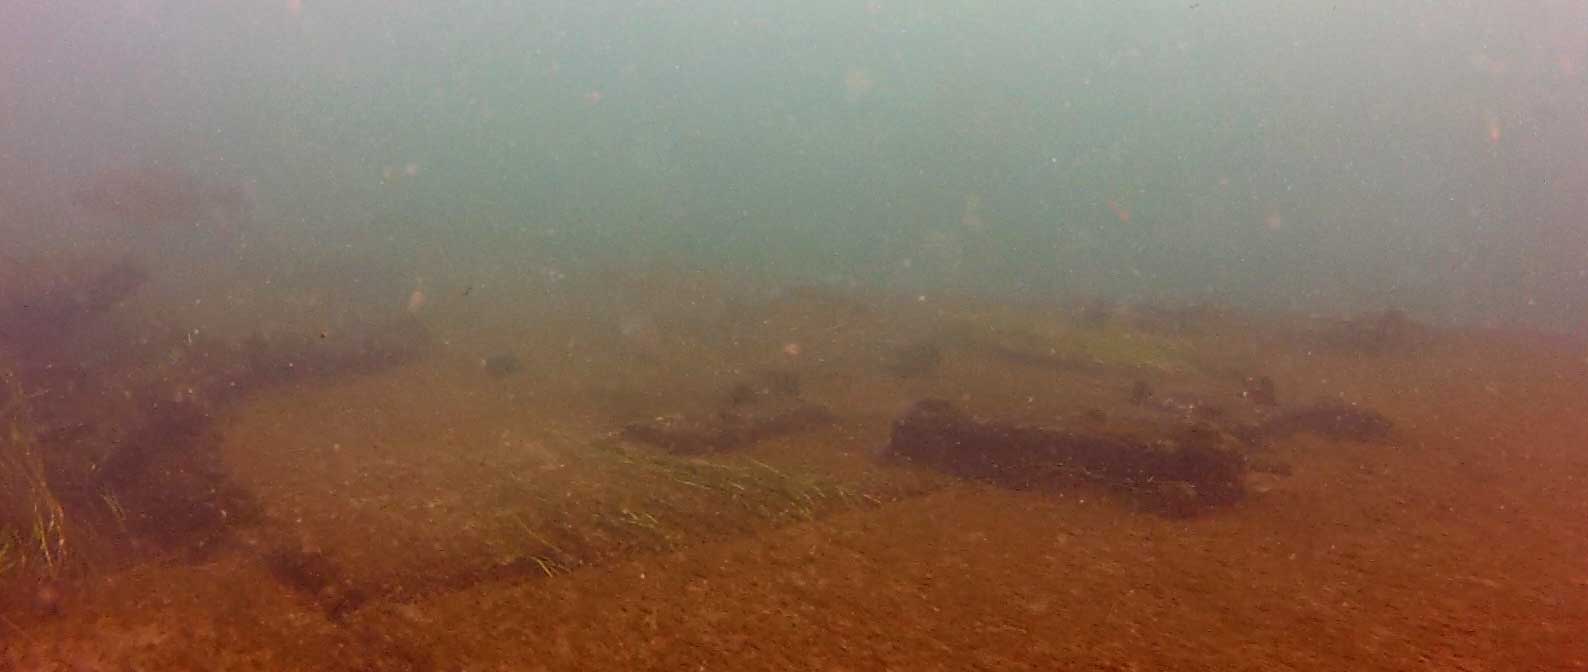
You’ll pass the Lock 23 upstream gate indentations at the beginning of your drift. The central grassy area is now seen as a base of small boulders and weeds. Early in the season you can see the boulders, later on just the weeds whipping horizontally in the current. There are usually a lot of catfish, walleye and bass up here.
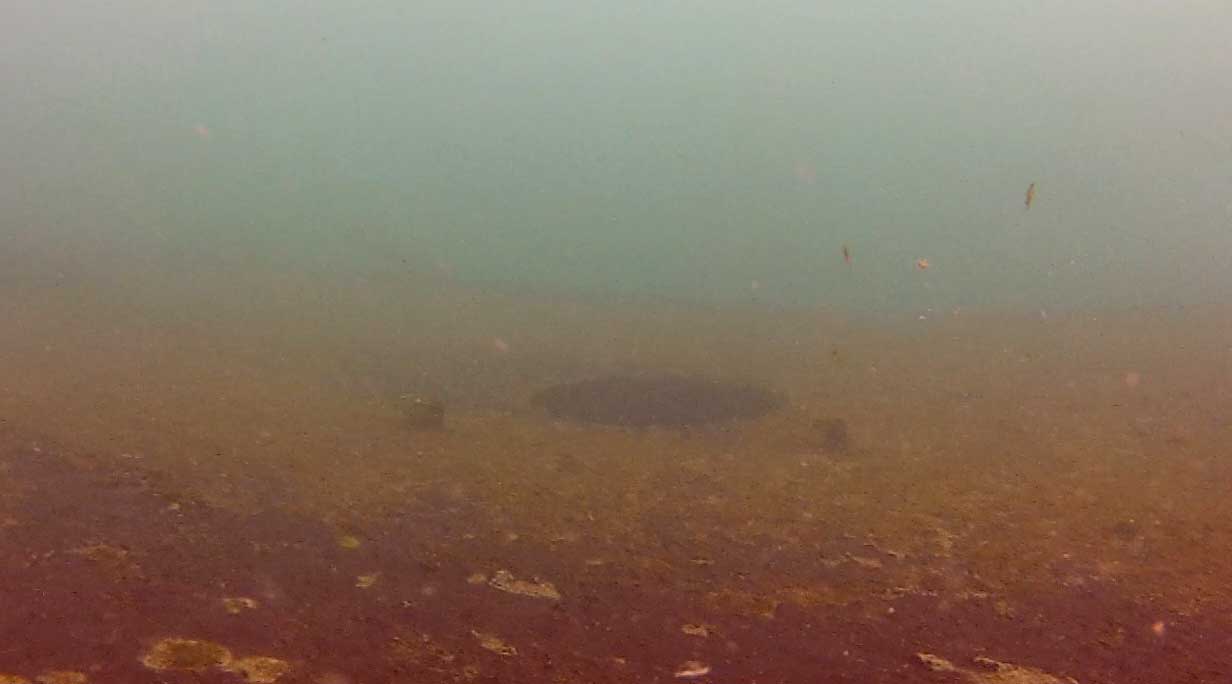
Pass a downed light standard or two, then notice a break in the weeds. Move north (left) to see the remnants of the foundation of the lock house, which tells you that you’re roughly in the centre part of this site.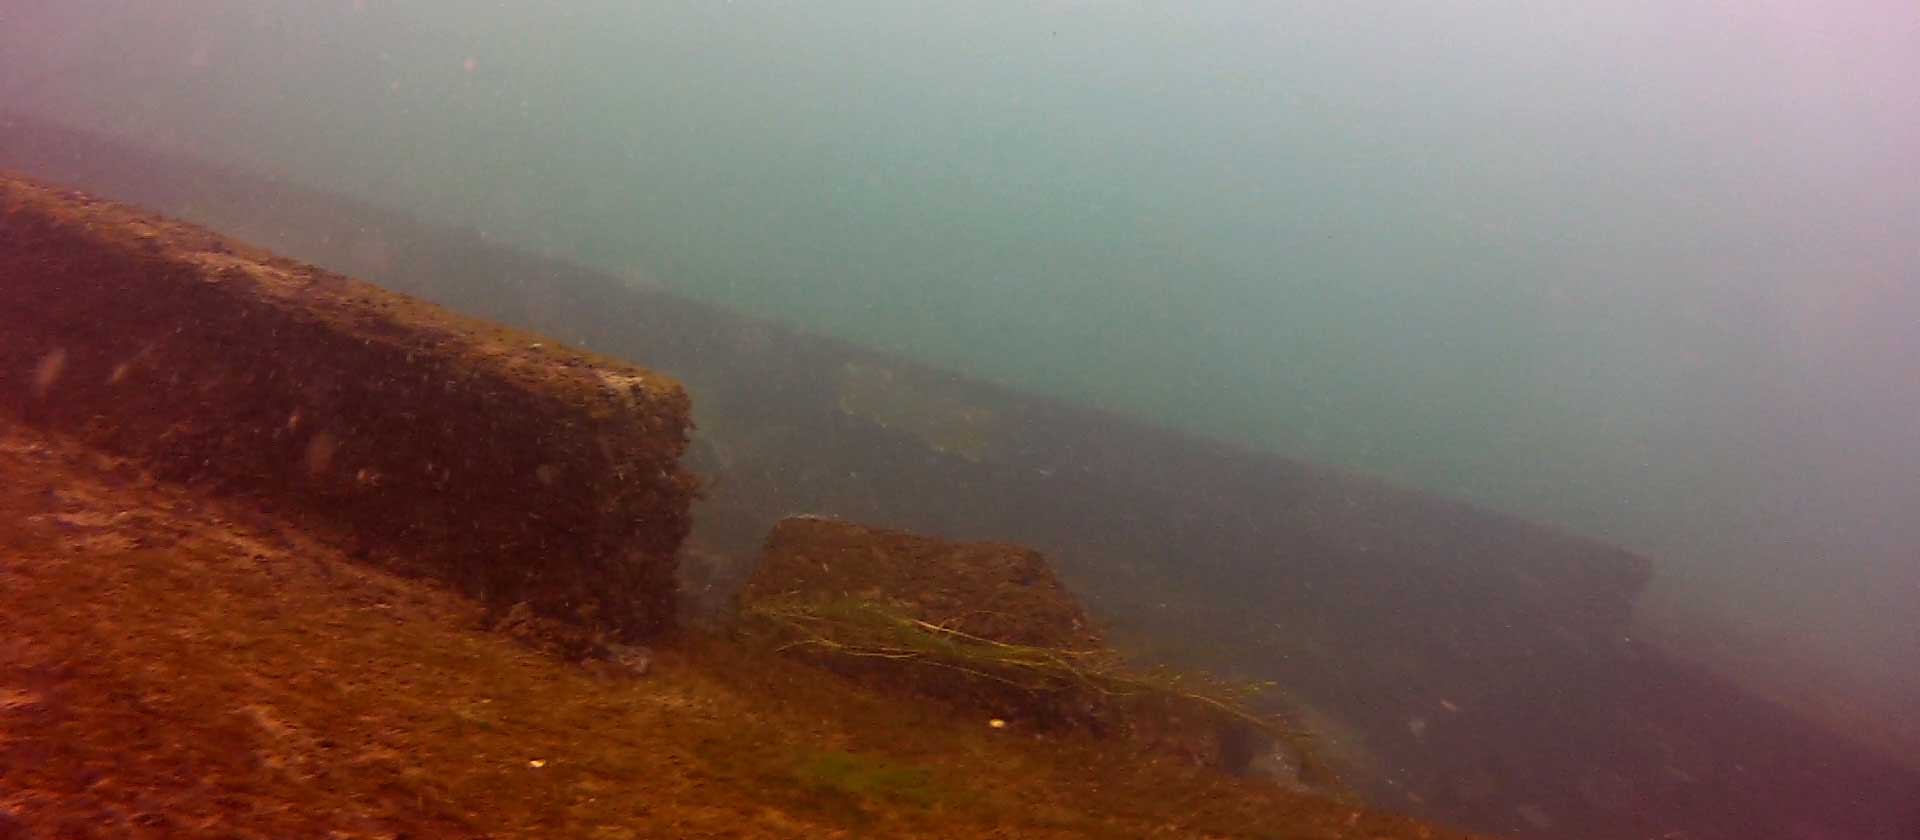

There’s definitely current here!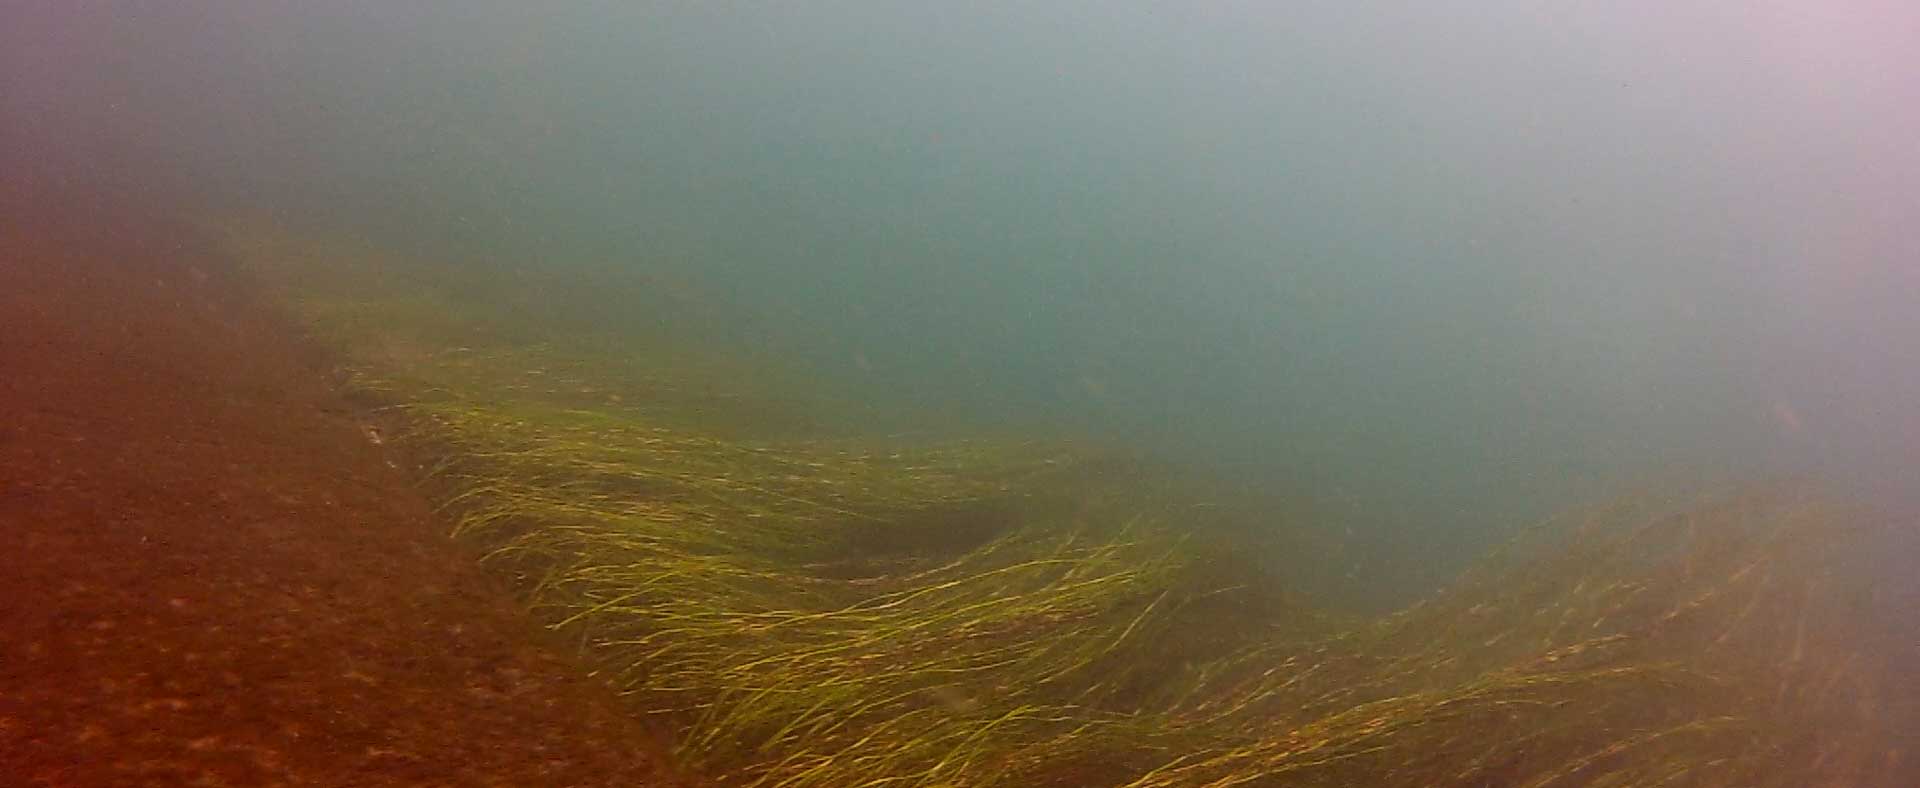
As you skim along, note the indentations in the south wall where the gates were fastened, the holes where the cables ran (the holes are not large enough to swim into), and the gate opening mechanisms. They’re interesting to examine but difficult to do so in the current. There’s also a light pole lying lengthwise just ahead.
When you see the crank mechanisms (refer again to the photo at the beginning of this post), you know you’re at the downstream gate. You’ll come across a few odds and ends of debris, then the end rim of the wall as it curves in, then a drop in depth. Move left to see a slab of concrete beside which stood the original wooden steps. This is the drop to the lower level of the lock, which looked like this…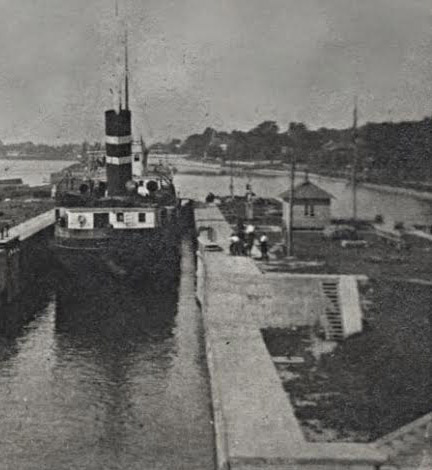 When you reach the sideways “stairs” marking the end of the curved wall, you find yourself on the long concrete covered approach pier at about 25 feet deep. It is marked with bollards 50 feet apart along its length as well as several downed light standards.
You can drift right to its end, then head north towards shore, or leave at any point along the way.
